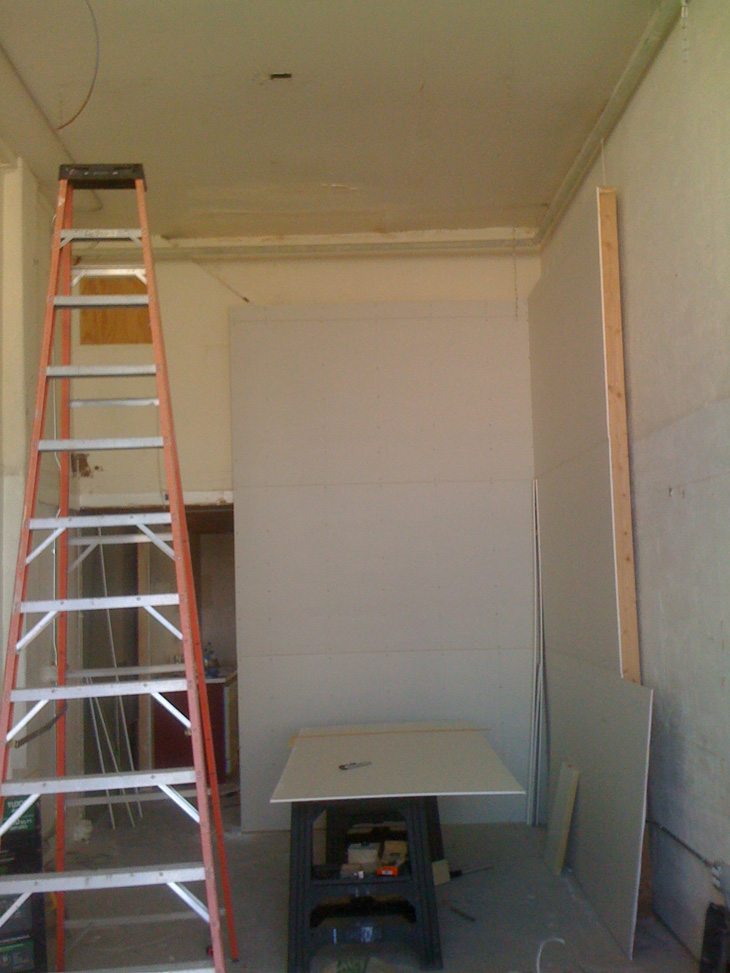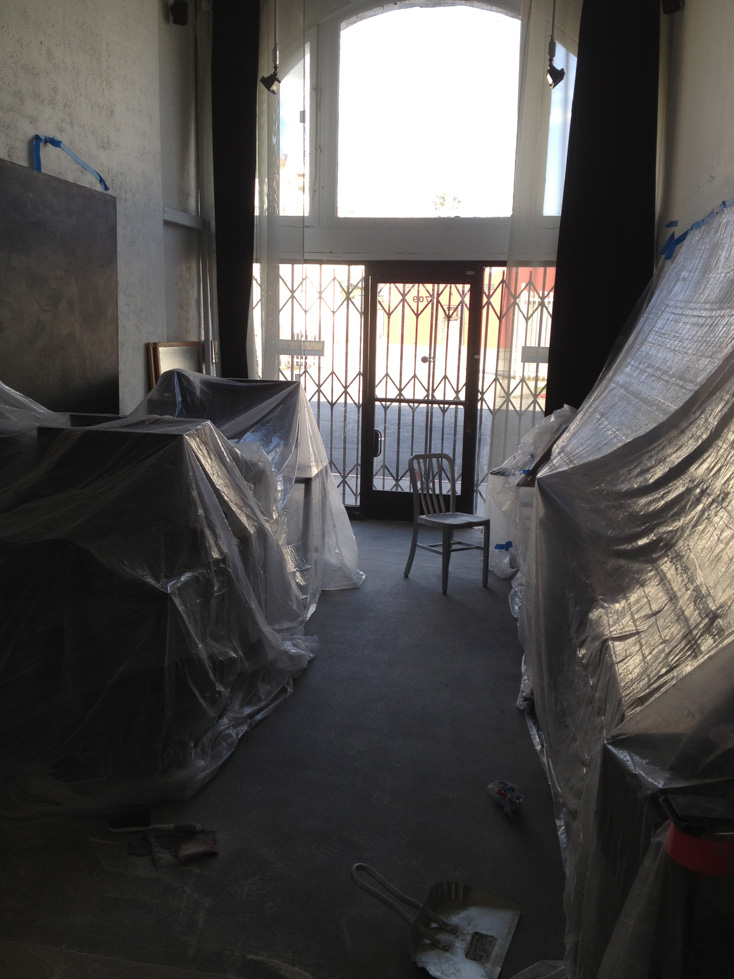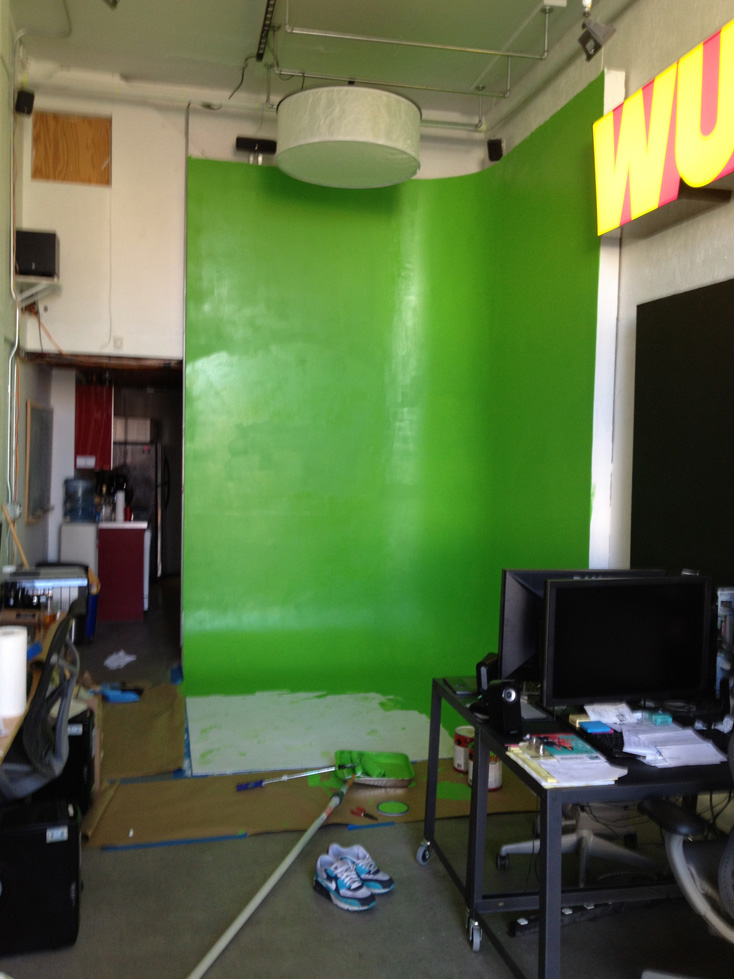
One of the things I liked about my last studio location was the high ceiling in the main room, high enough for a cyclorama wall!
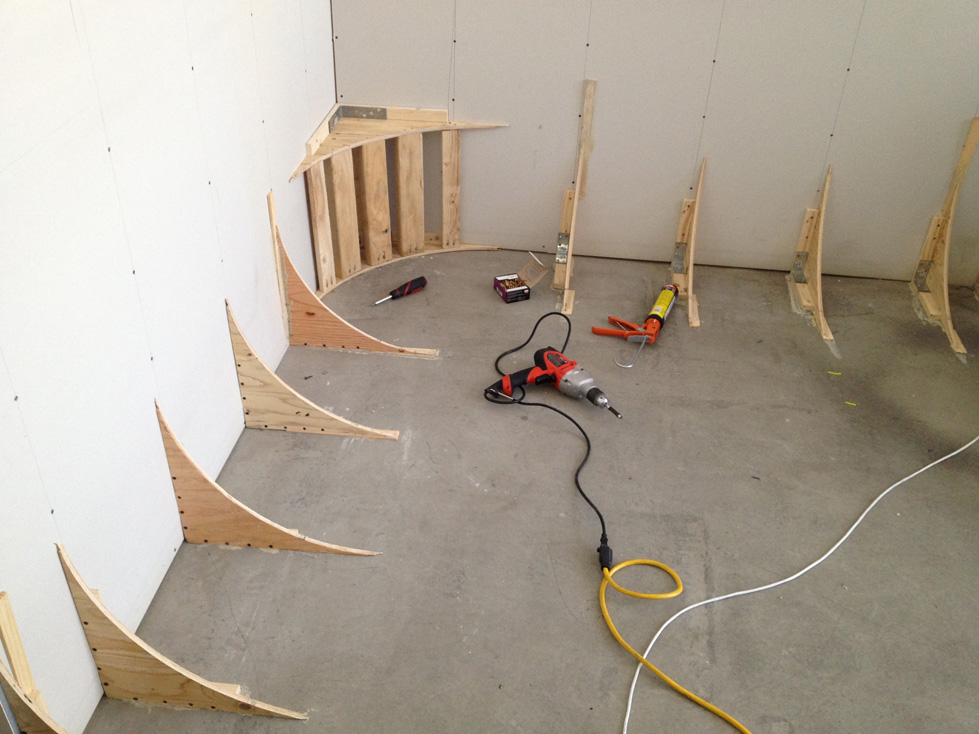
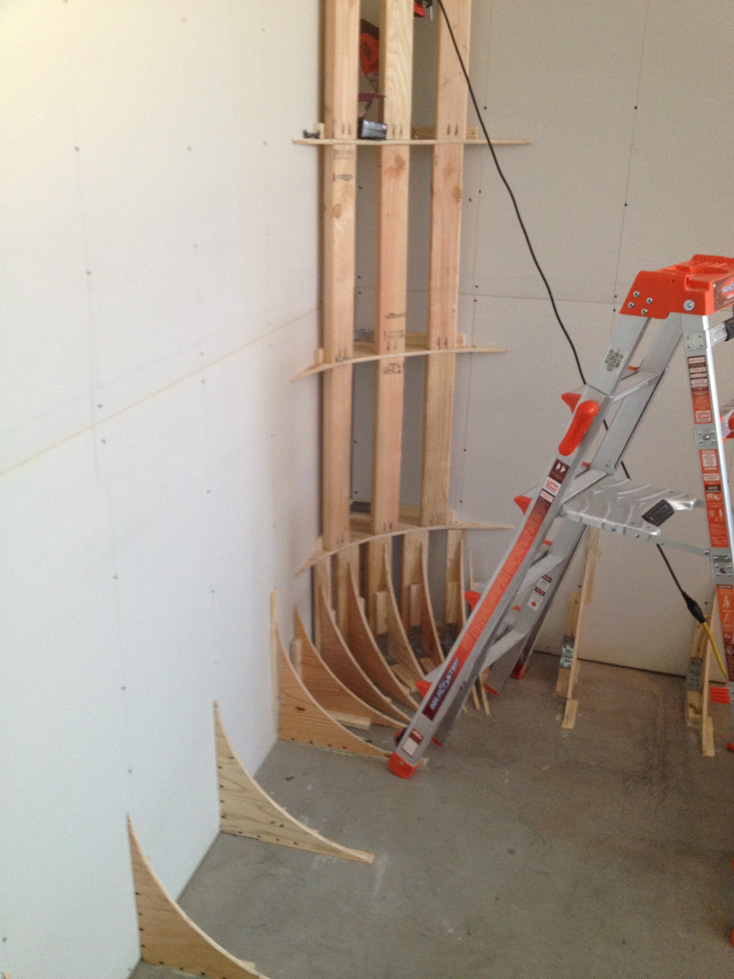
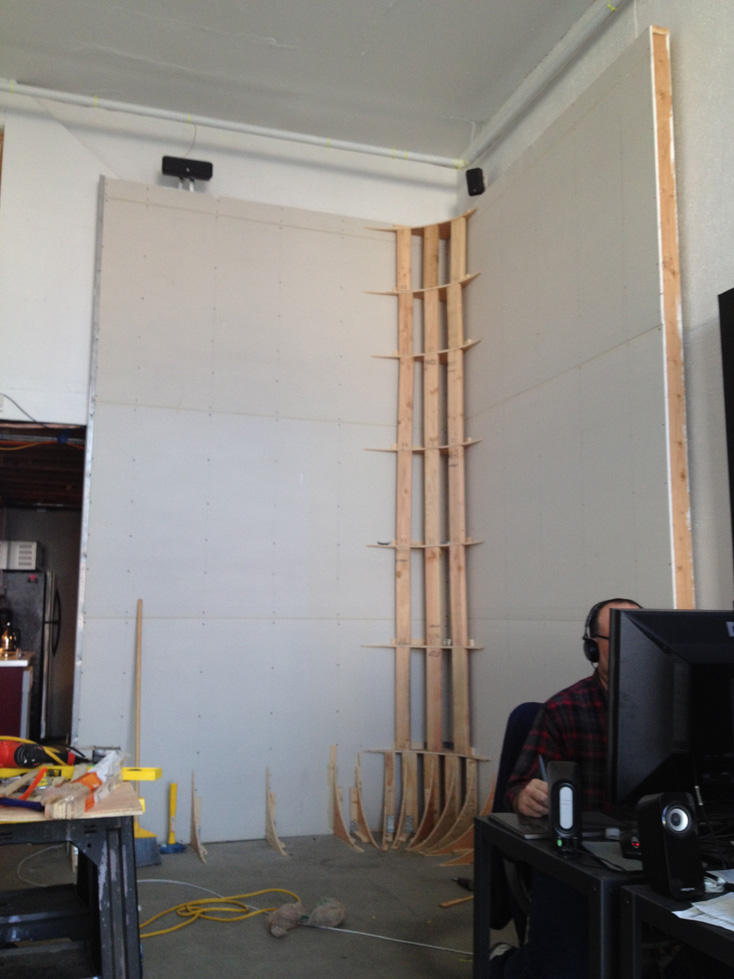
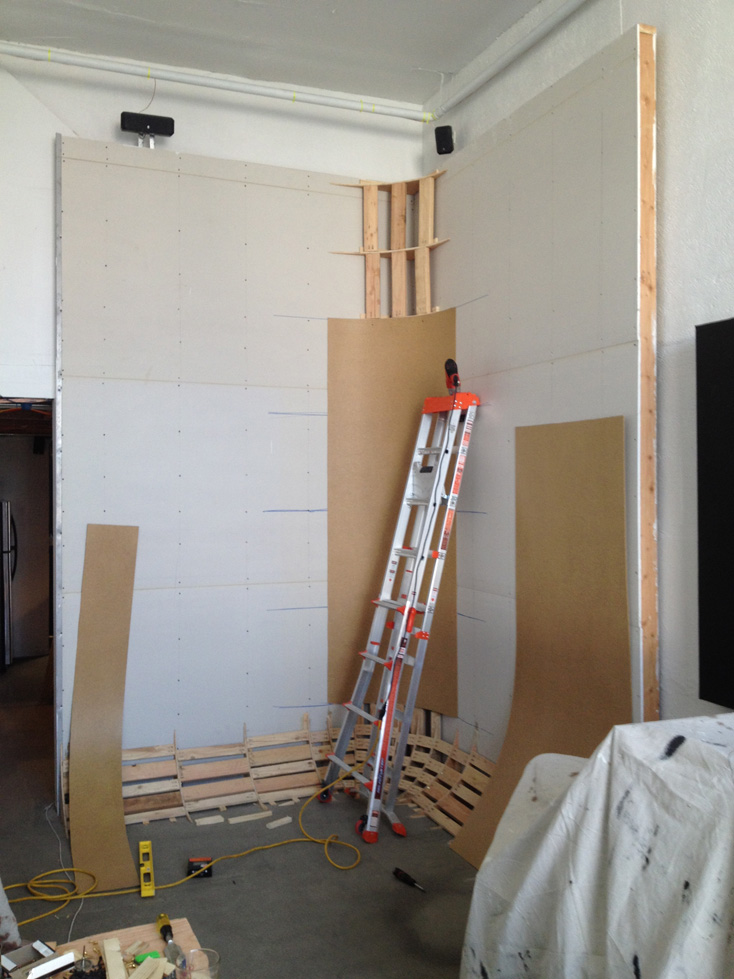
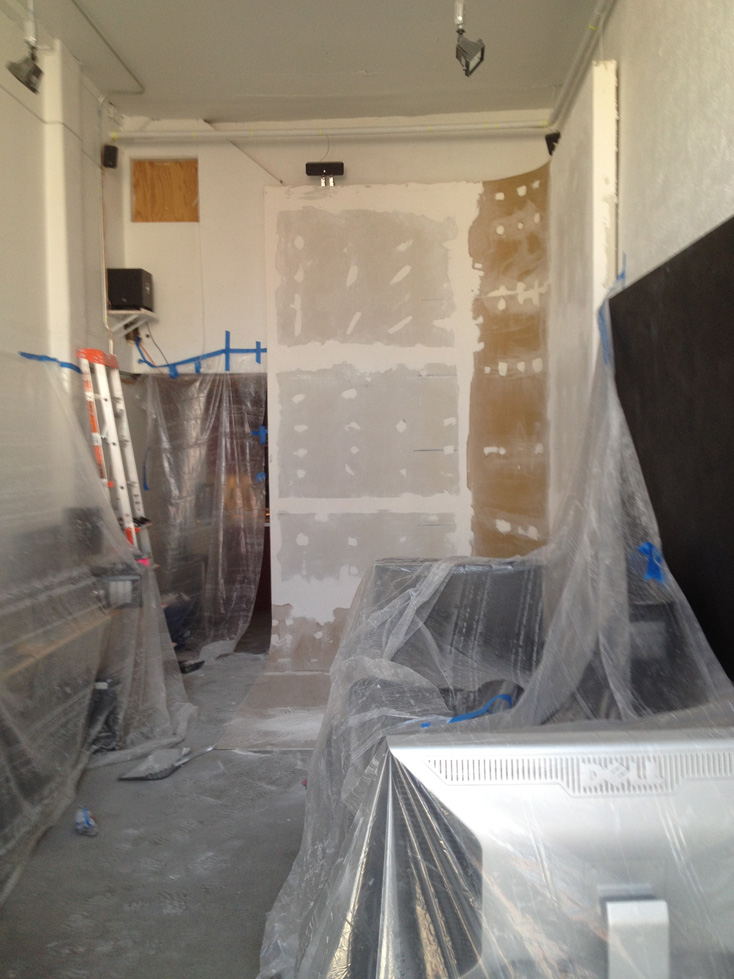
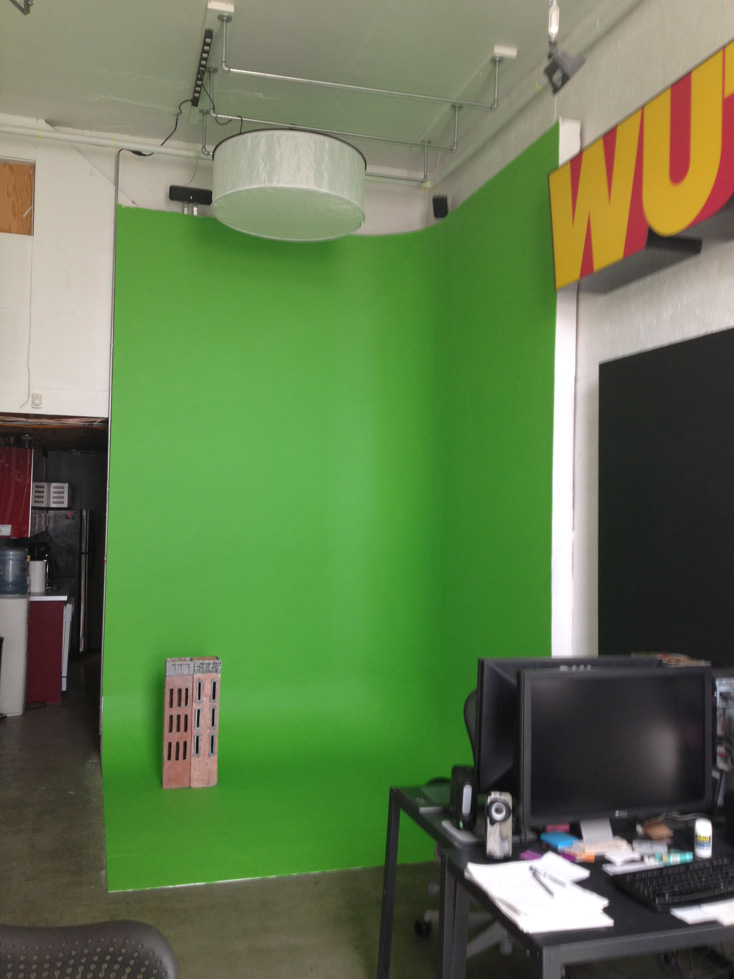
The studio is an old storefront, so it’s not very wide, but the high 14″ ceiling left plenty of room for a good lighting setup and a narrow 2 wall cyc. I knew it wouldn’t be the most ideal cyc setup, but it would do well for some basic shots of miniatures or a possibly a singe person head to toe. I did as much research as I could, which wasn’t very much, and just made up the rest as I went along. I started by building a 12’x8’x’8 L shaped wall. The wall is anchored into the cement floor and sections of the two walls that it rubs up against.
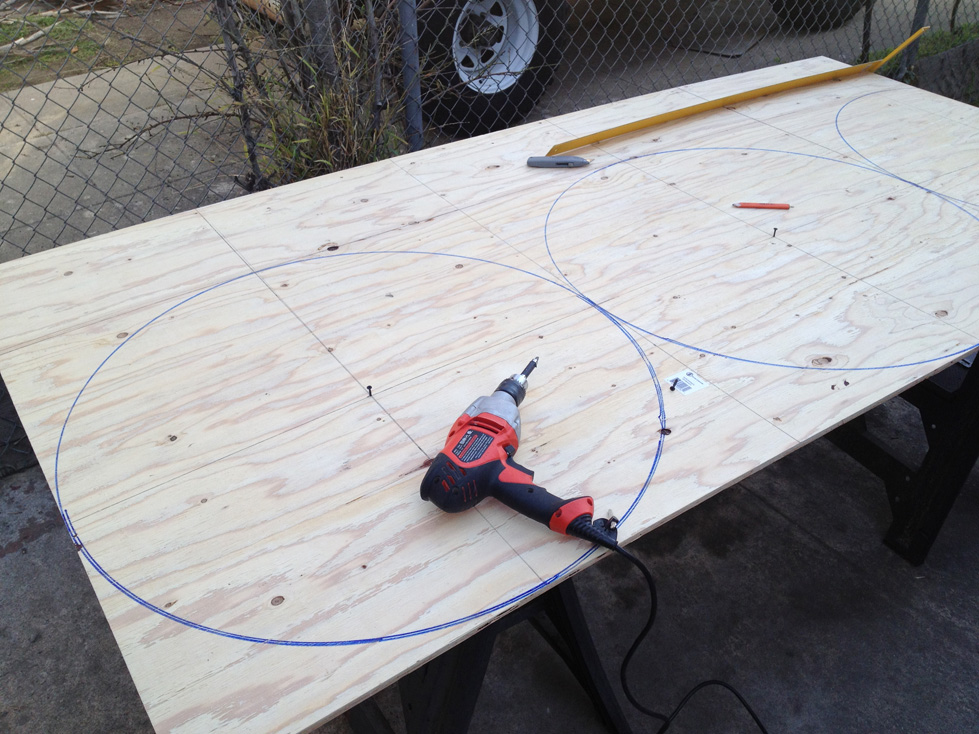
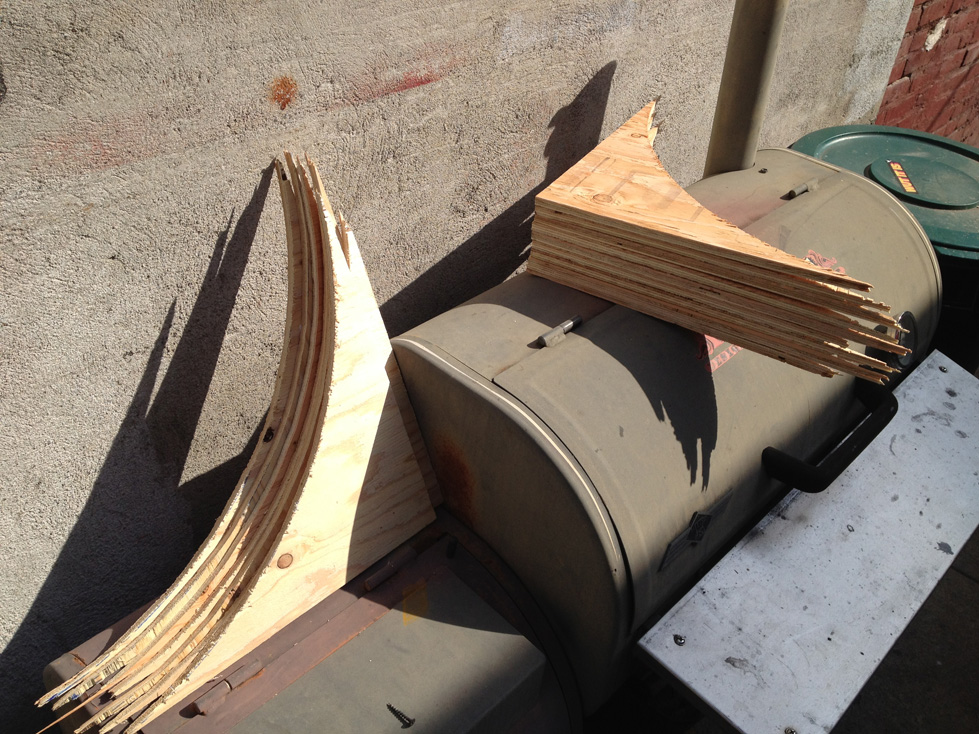
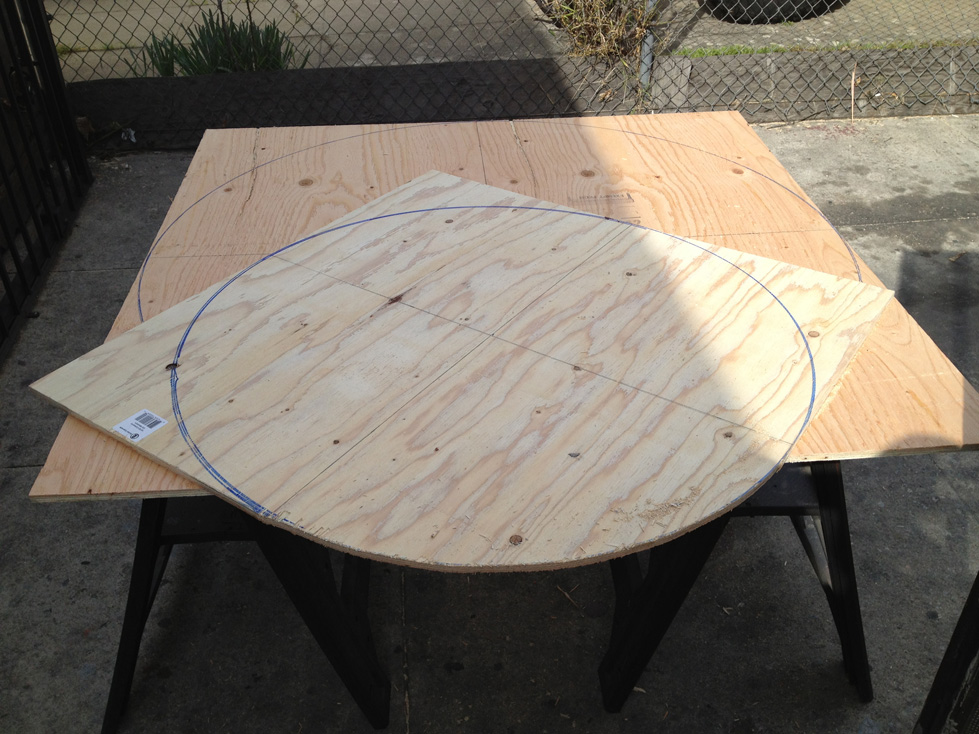
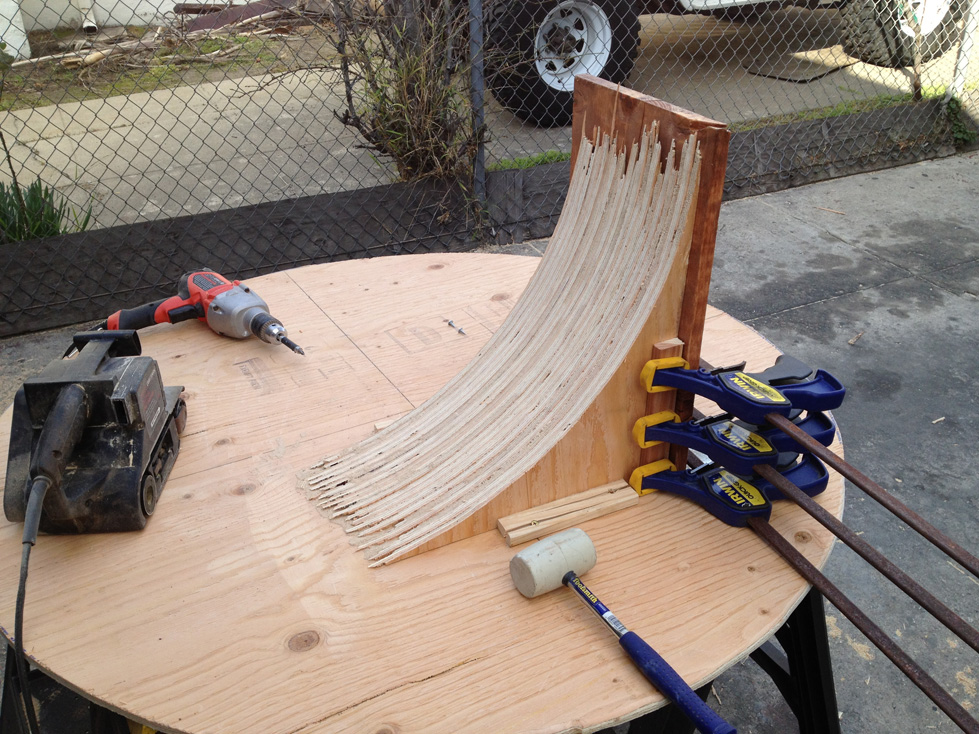
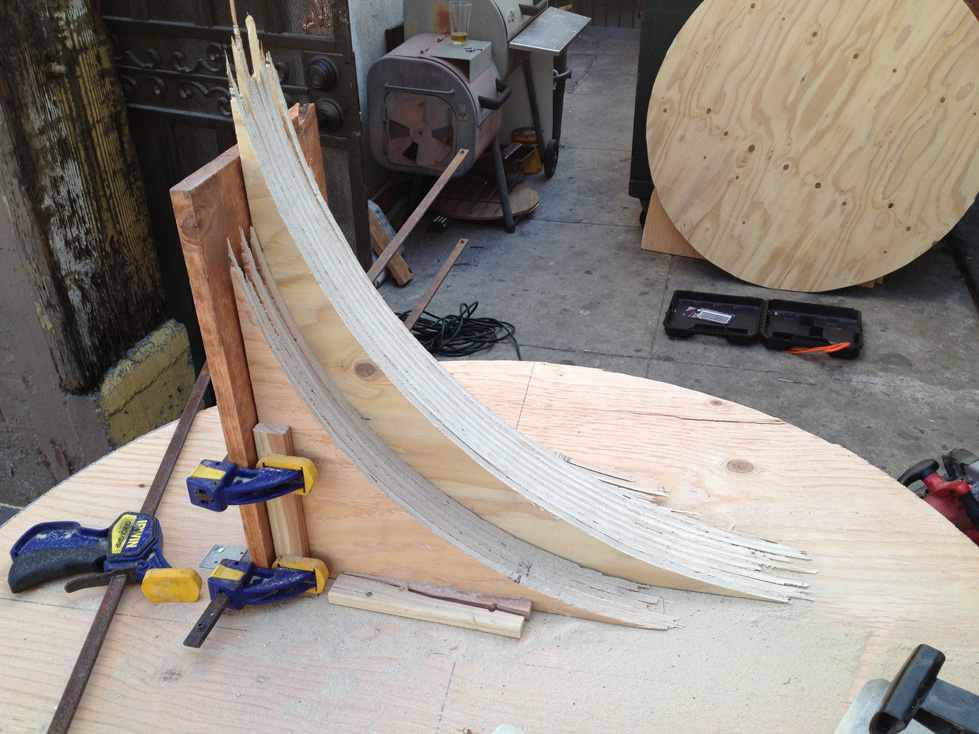
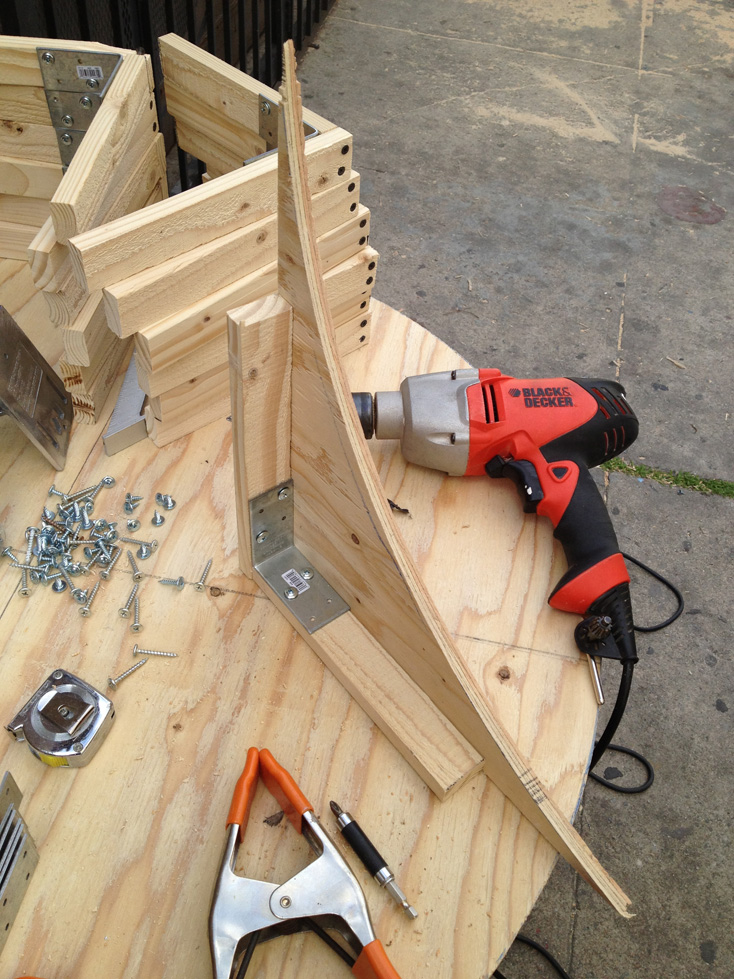
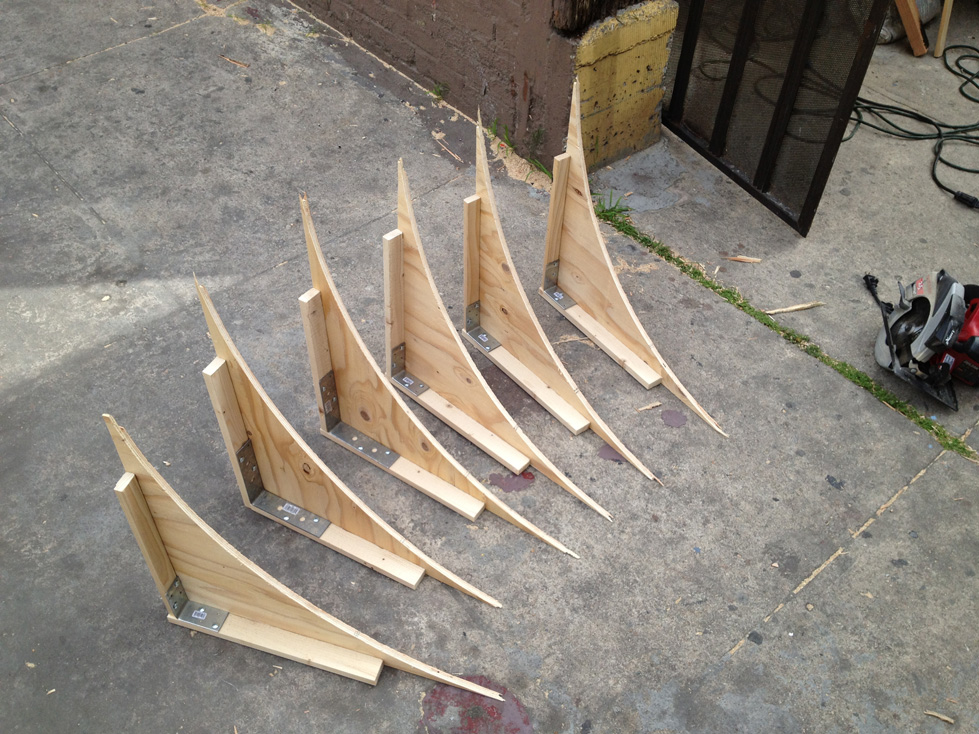
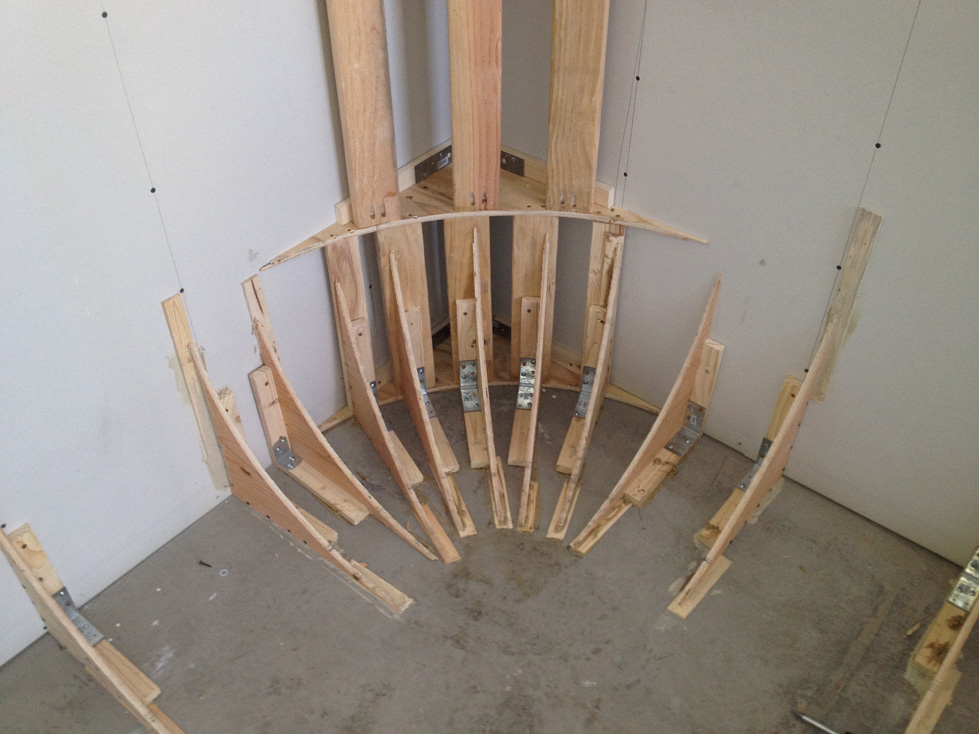
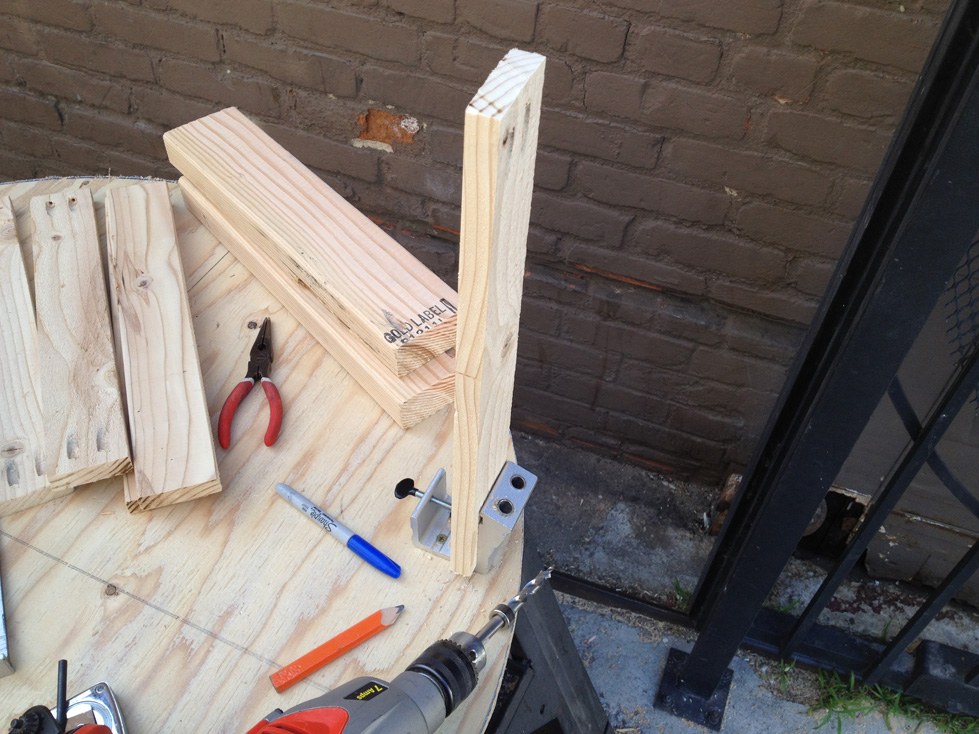
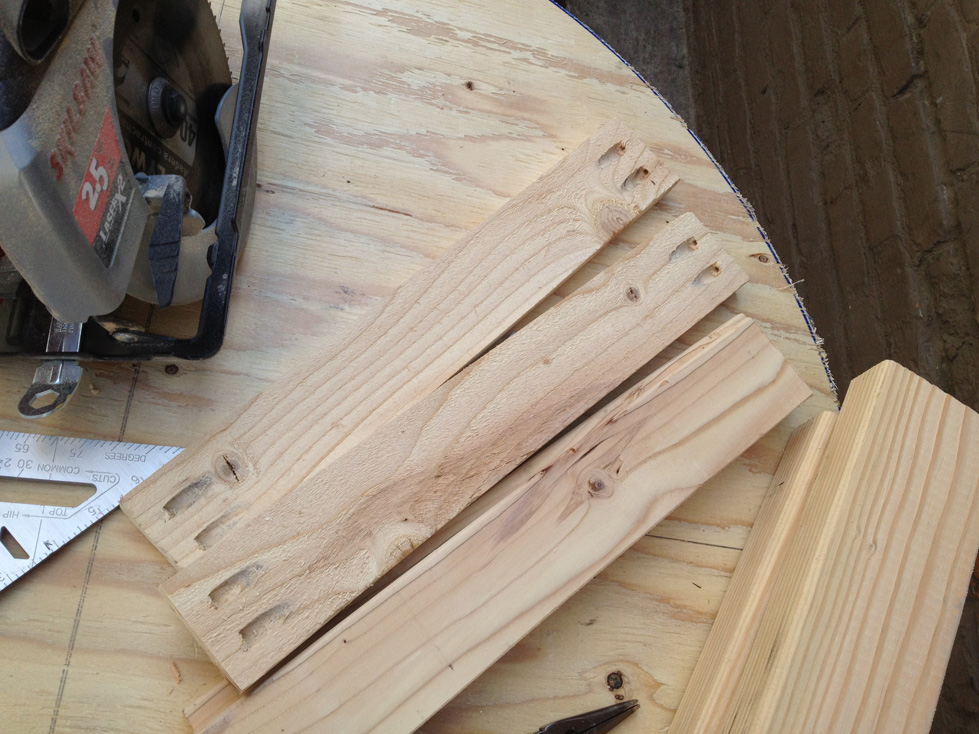
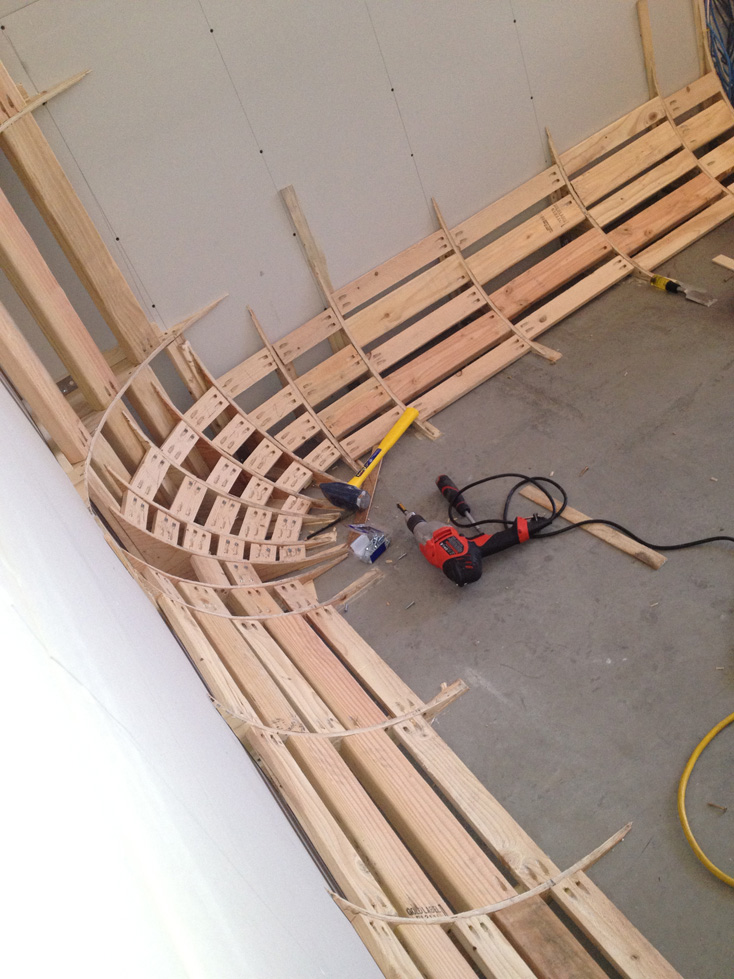
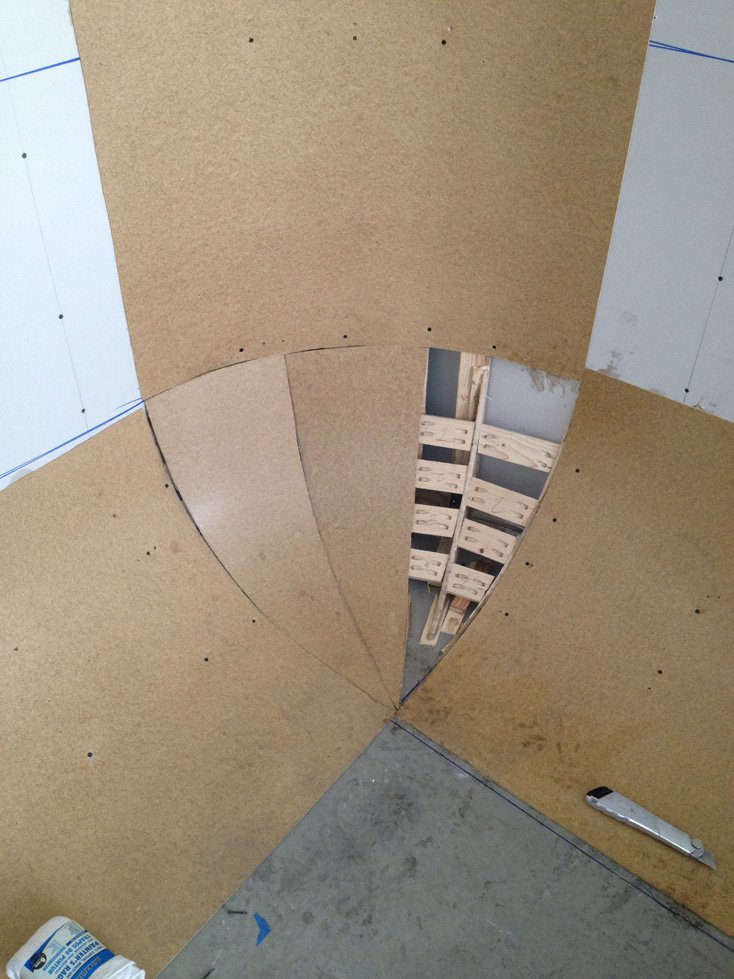
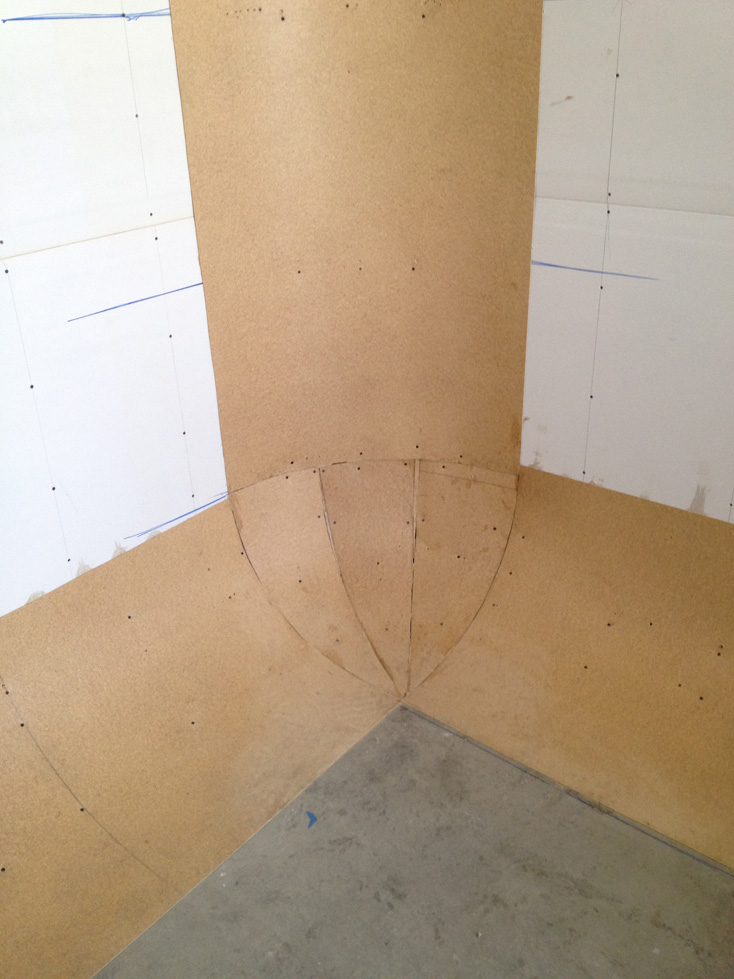
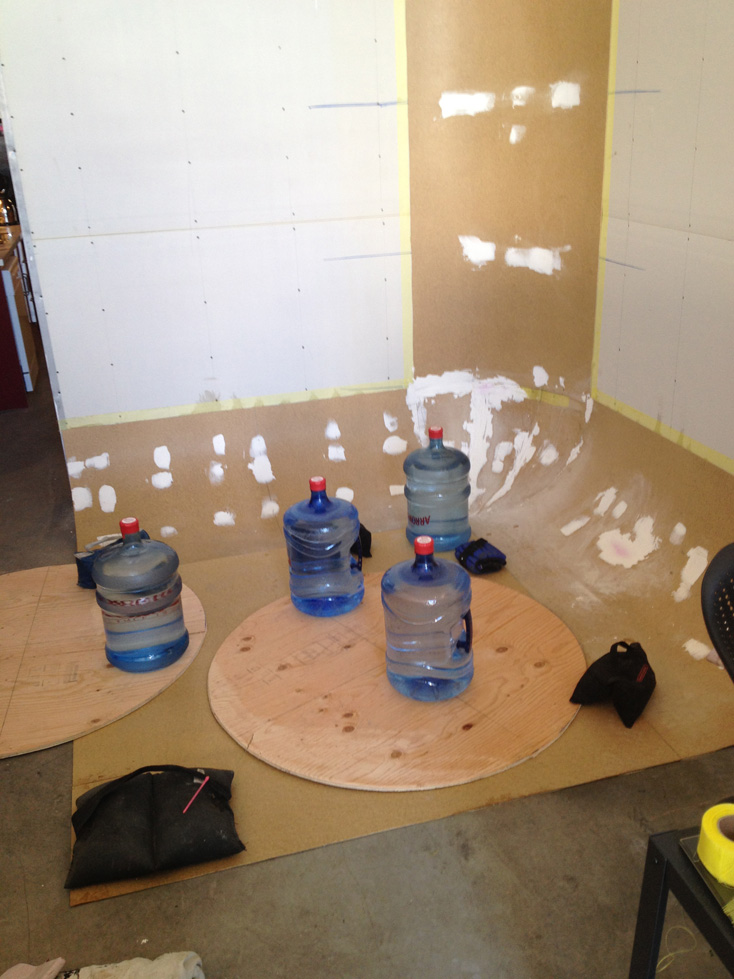
I cut the radius ribs out of a 4’x8′ sheets of plywood, keeping the vert radius slightly wider than the horizontal. I feel like I read somewhere that the two radii need to be different so as to avoid lighting problems, but I can’t remember If I did read that or if my mind made it up. I think the vert is about 24″ and the horizontal is 18″….it’s been about 8 months since the build so my notes aren’t very good (notes=brain). The horizontal ribs along the floor are anchored to the wall and the cement floor and joined by 2″x4″ & 1″x4″ slats the latter being used in the corner radius.
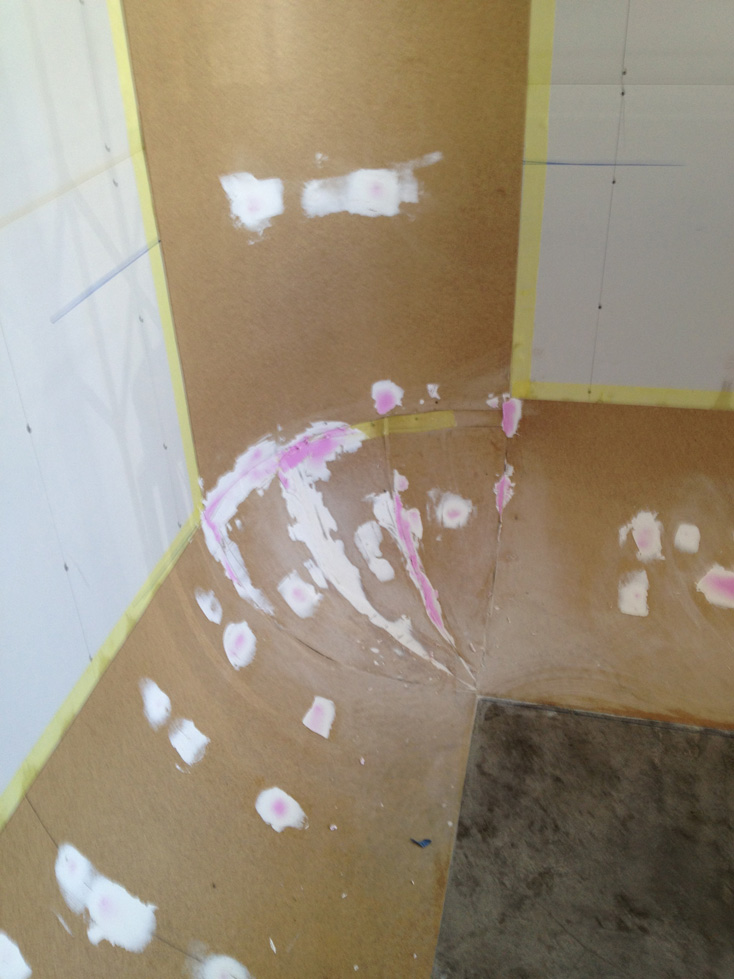
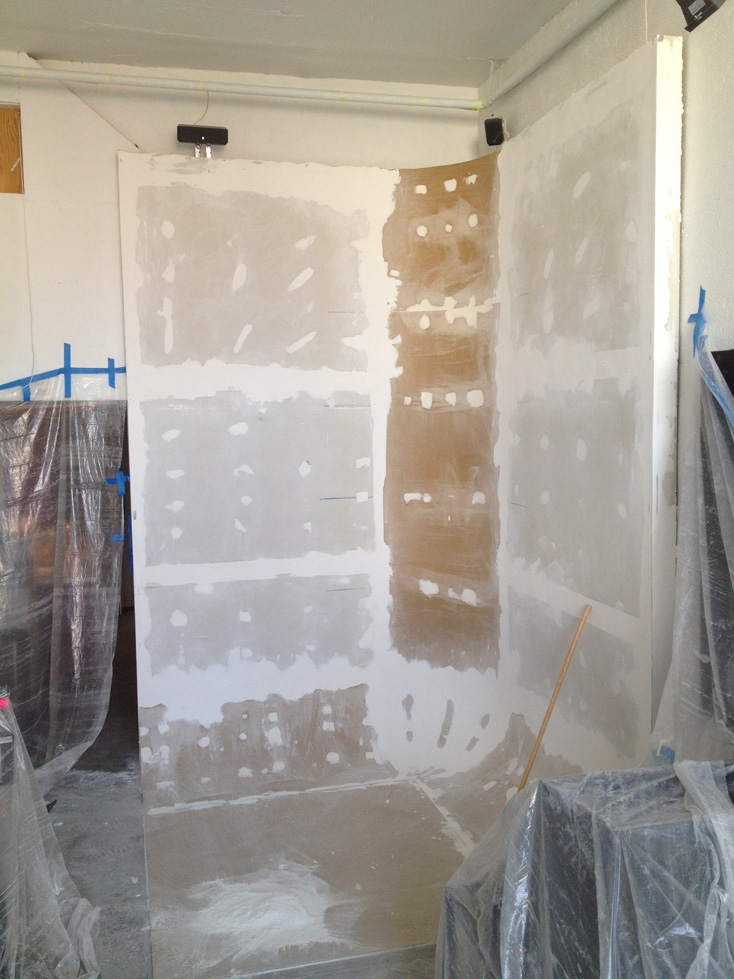
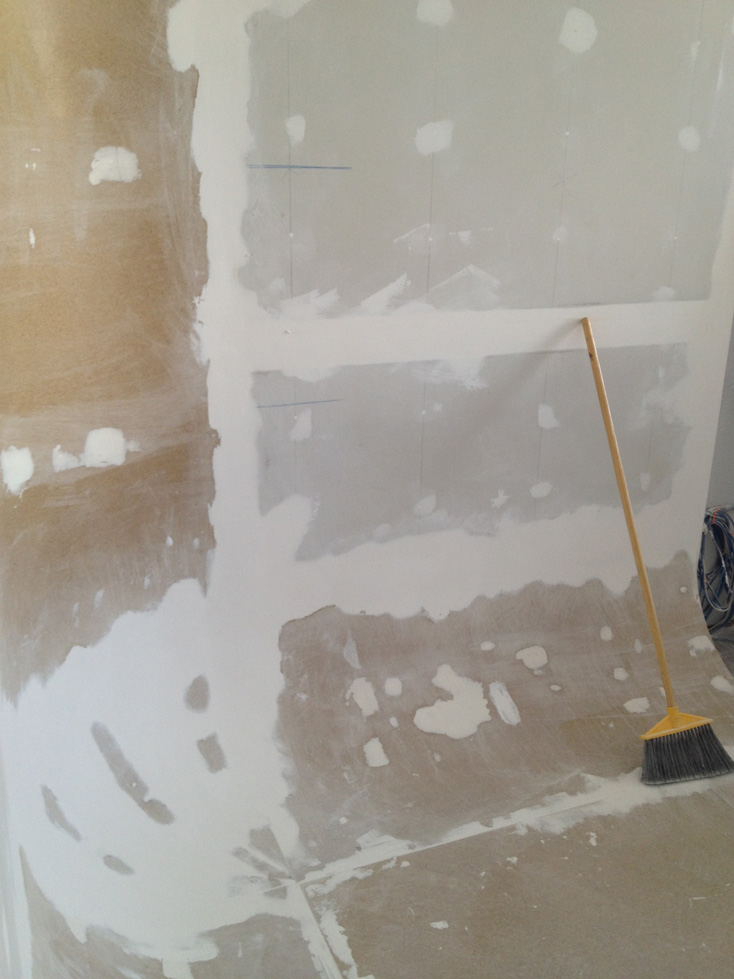
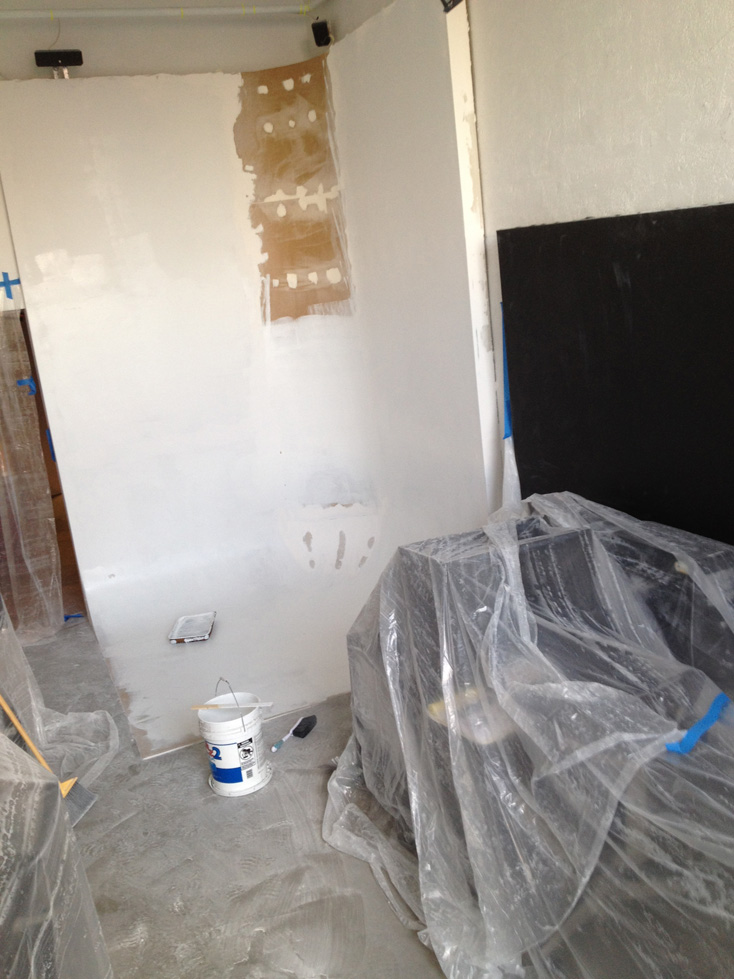
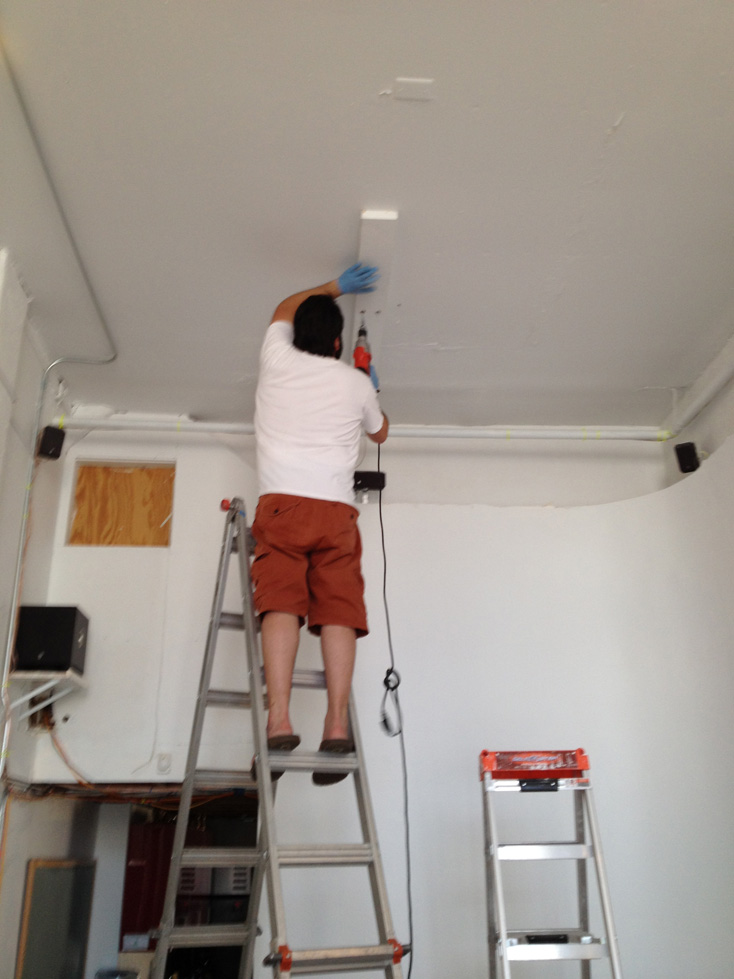
The curved surfaces are made from Tempered Hardboard screwed to the ribs with lots of plaster mud. You can see some initial tests of different types of plasters. One of the first plasters I tried was this premixed pink stuff which sucked. I ended up just mixing my own 40 min mud.
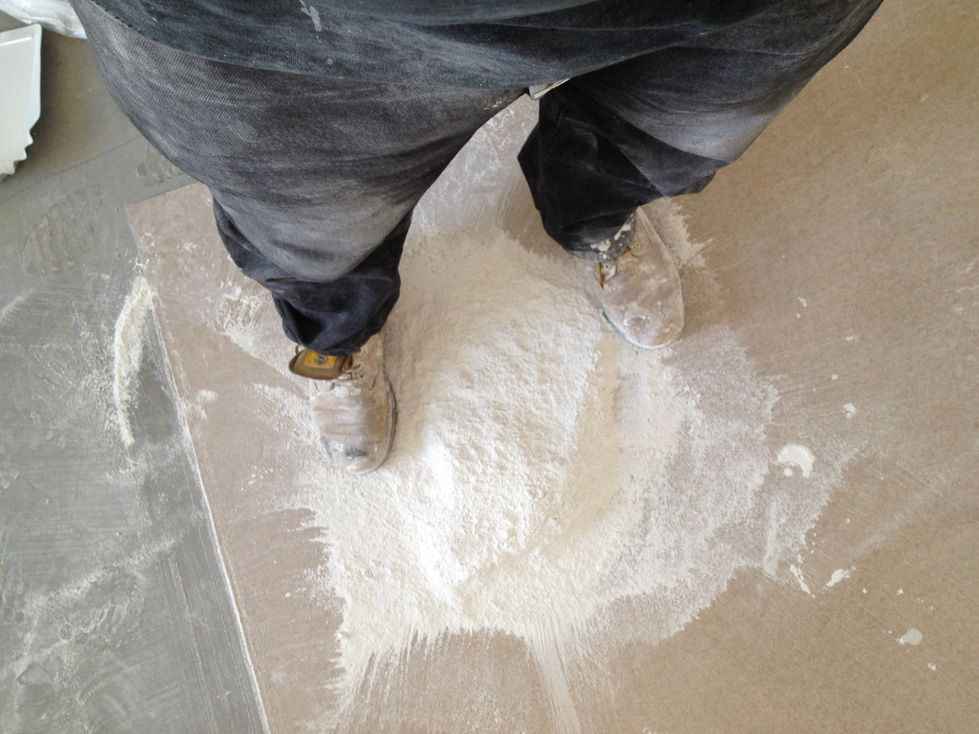
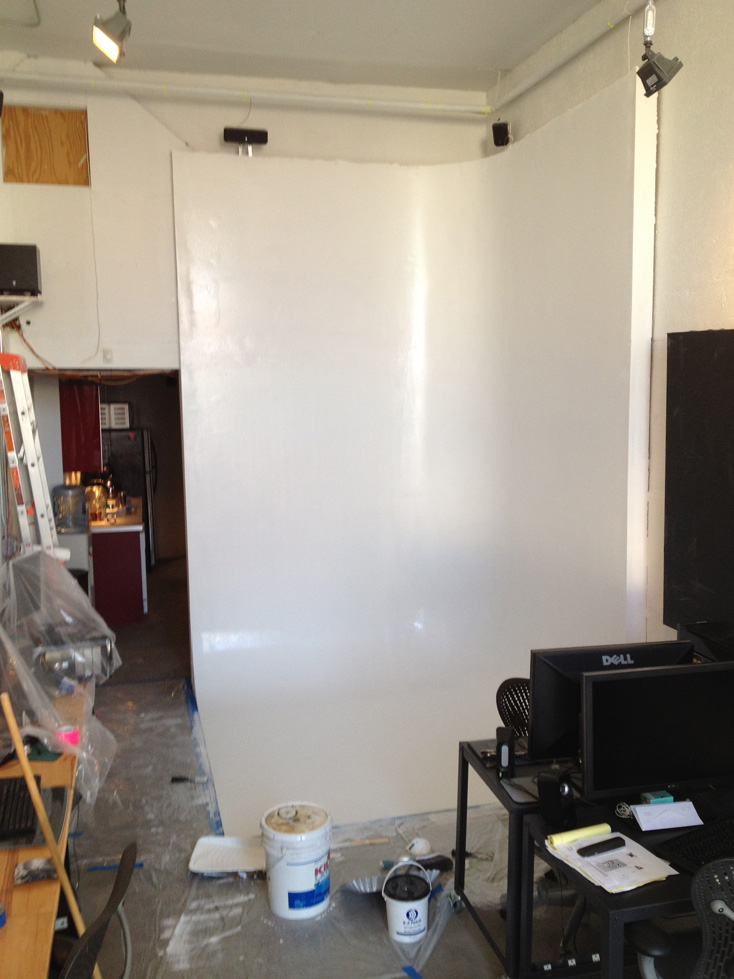
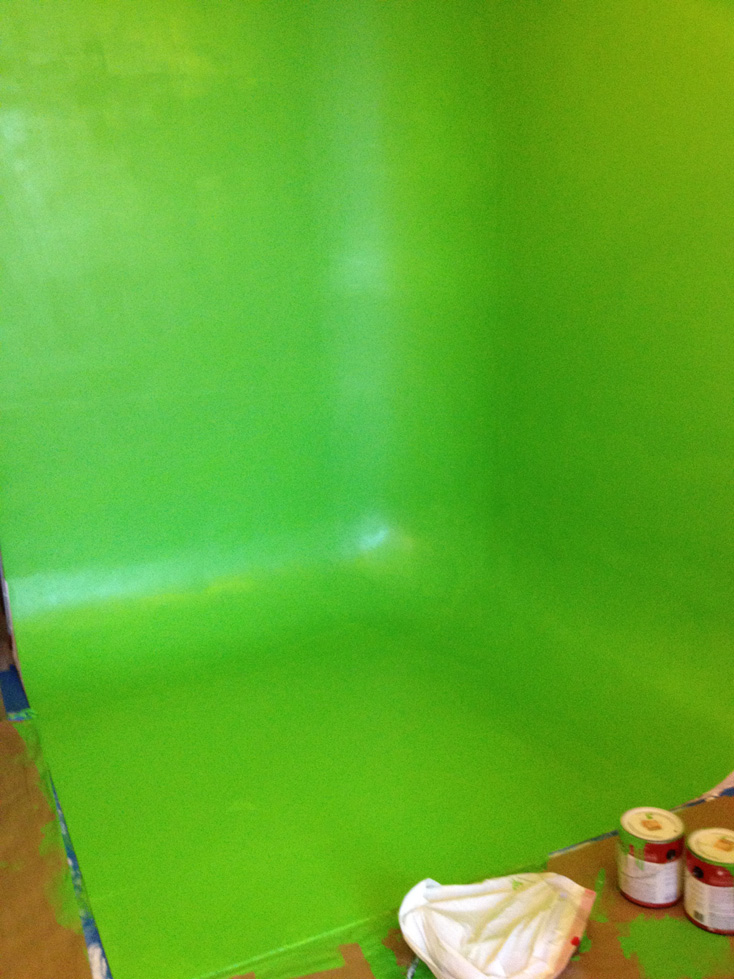
Lots and lots of sanding, and plaster dust, and primer, and matte green paint et voilà! Look through this image gallery for more info: