Continuing on with the making of my short live action/animated film code-named “Cesar Head”. This stuff is getting tricky now, you don’t want to miss any of it!
Here in Part 3 I cover the 3 piece mold making process as we get ready for some of the GM Foam Latex stuff. If you want to skip to the cooking or painting and application of the foam latex prosthetics in Part 4 and part 5 (YOU’LL HAVE TO WAIT!). Click here to go back to the sculpting in Part 2.
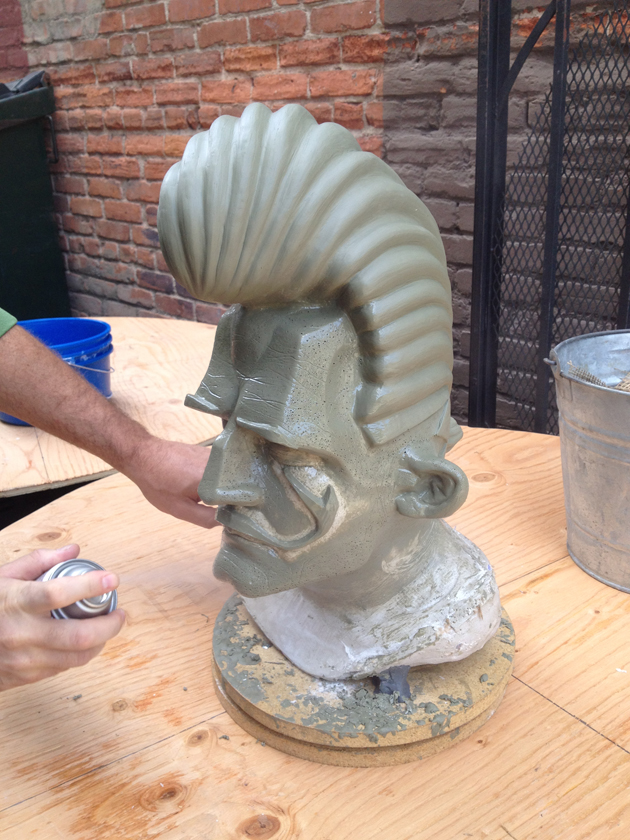
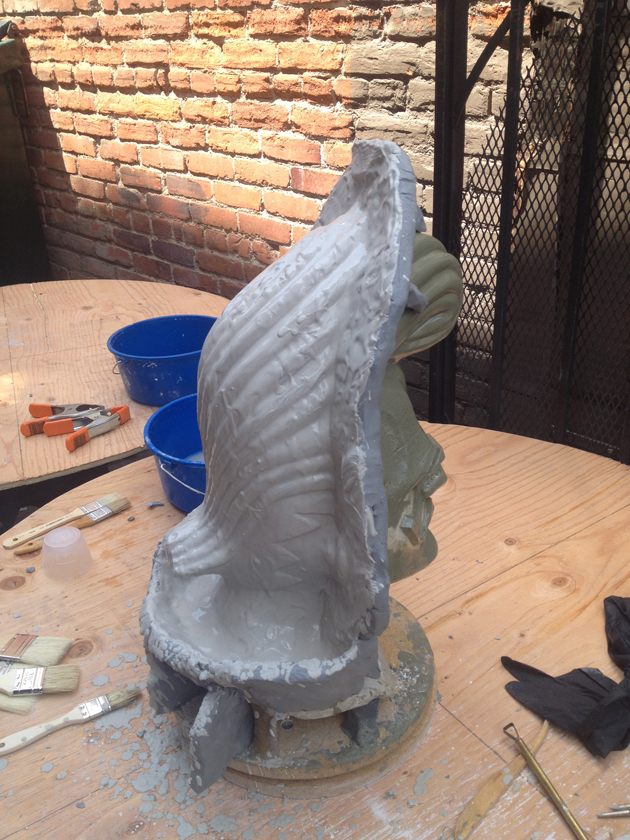
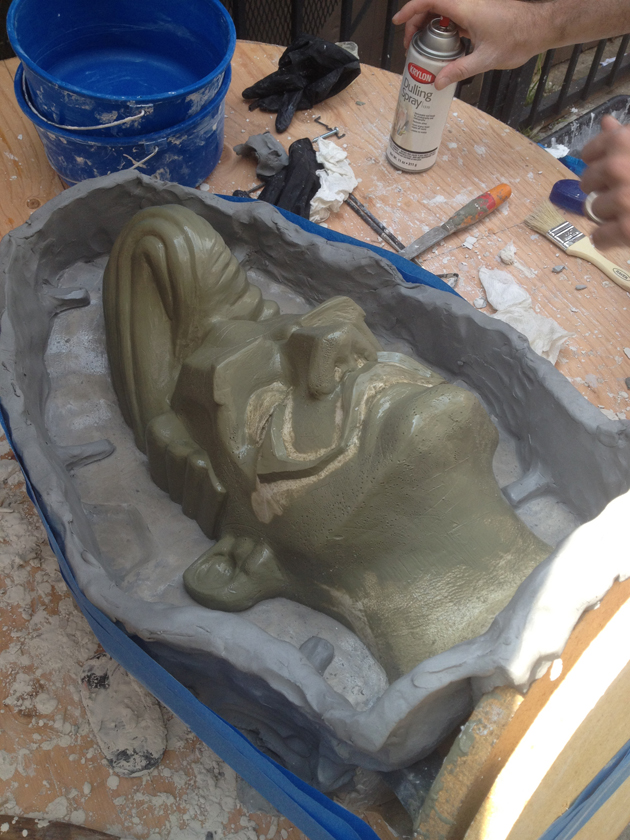
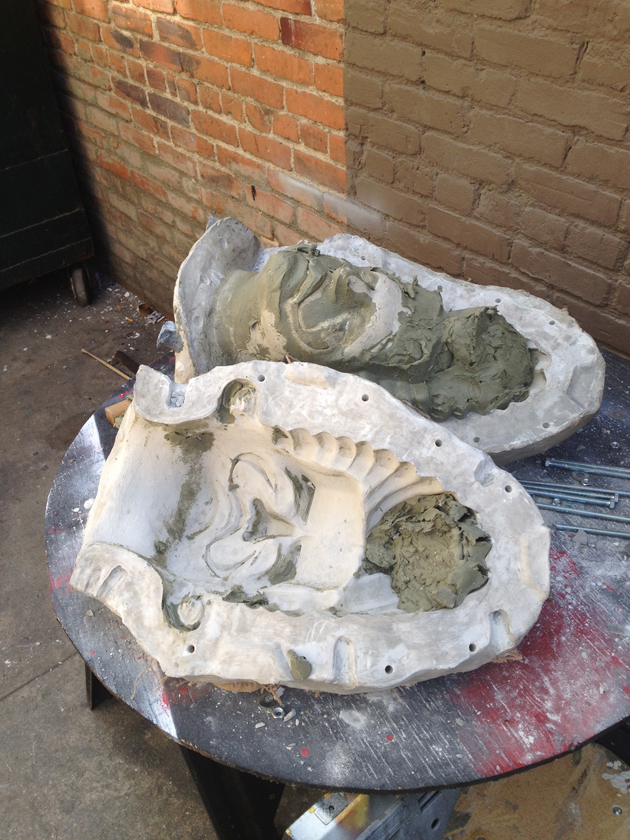
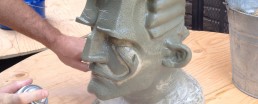
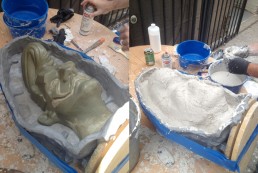
With the help of my old film school buddy Ben Dulong, we began to prep the final model for the mold making process. We first sprayed the sculpt with tons of Crystal Clear spray. We then constructed a dam along the would be seam of the mold out of water based clay. You need to use water based clay at this point so nothing sticks to the oil based clay.
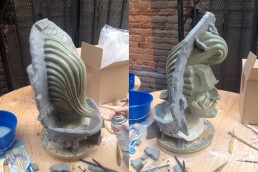
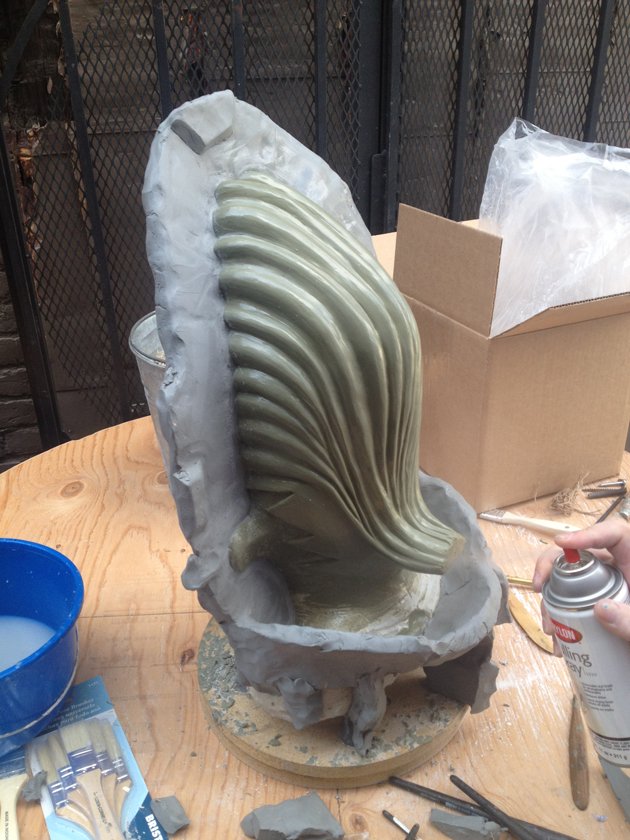
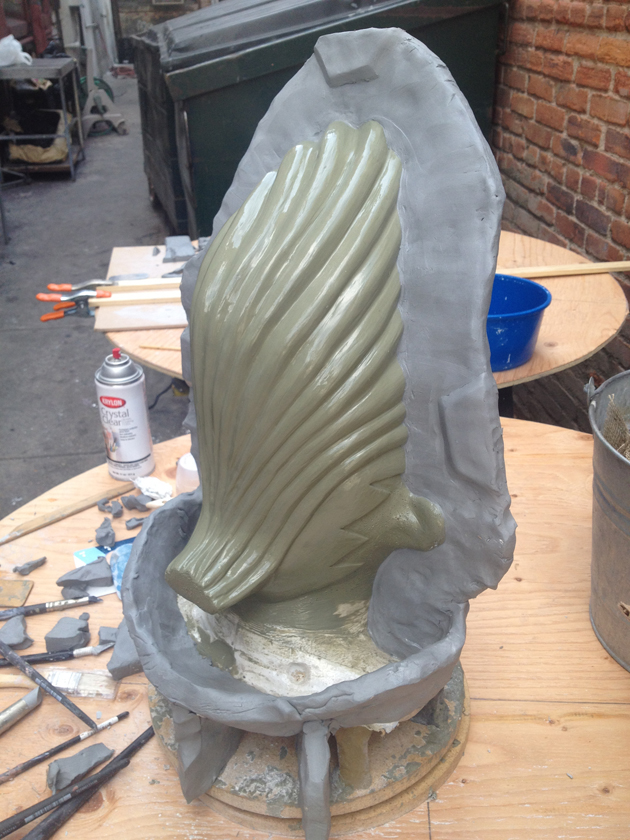
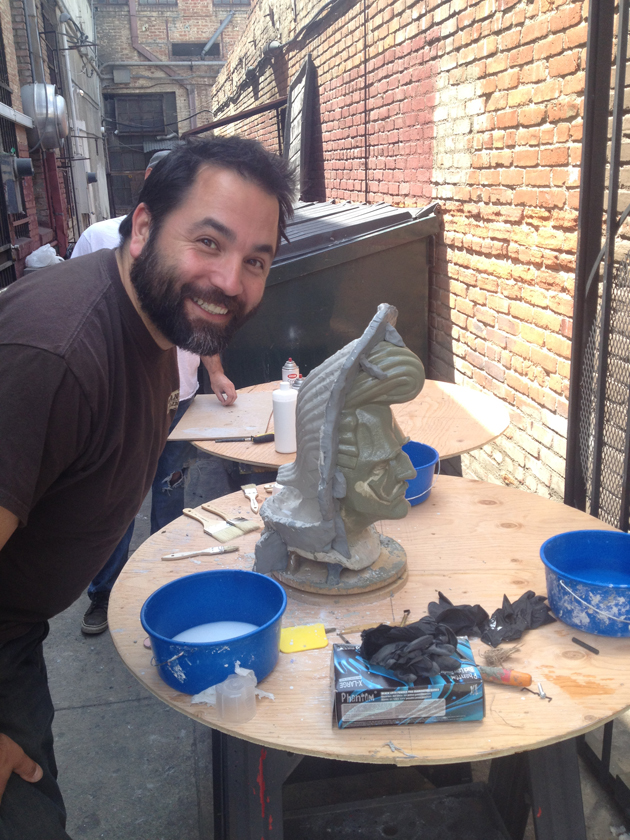
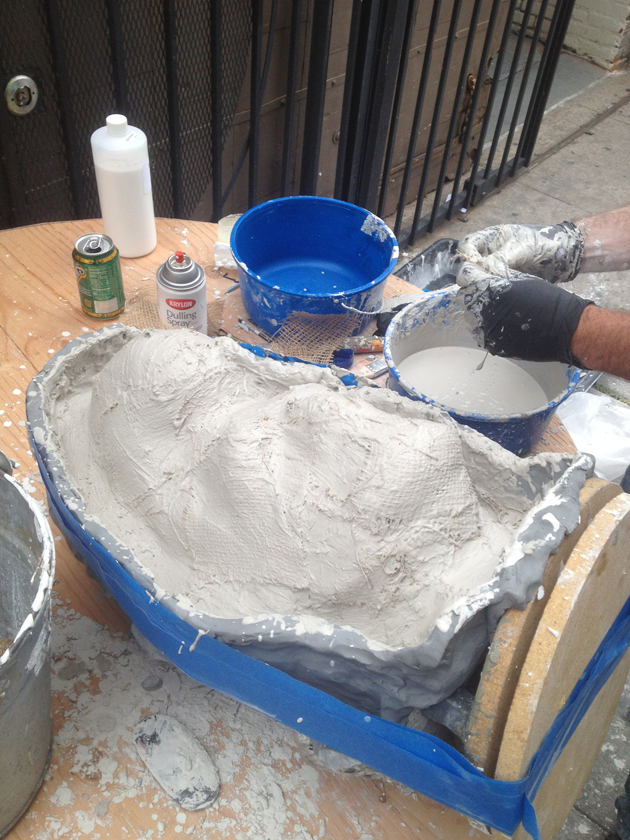
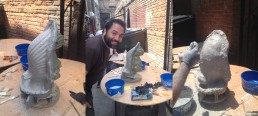
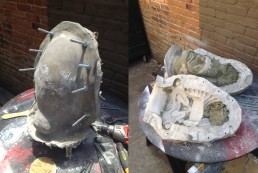
We then covered the back side with more gypsum cement layered with burlap for added strength. OH! and primo Cesar stopped by to say “see, I told you so.”
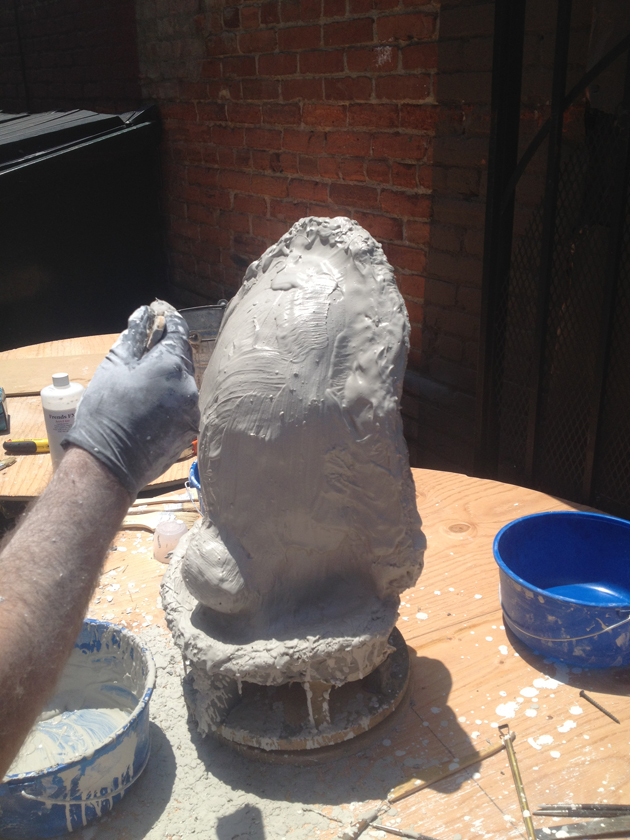
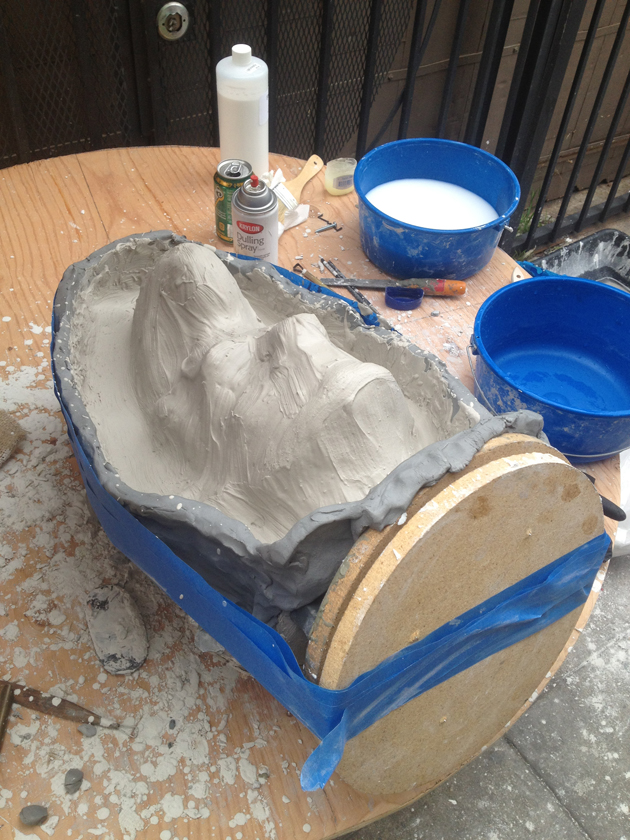
We repeated the process for the front with fresh clay and more Crystal Clear, just to be safe!
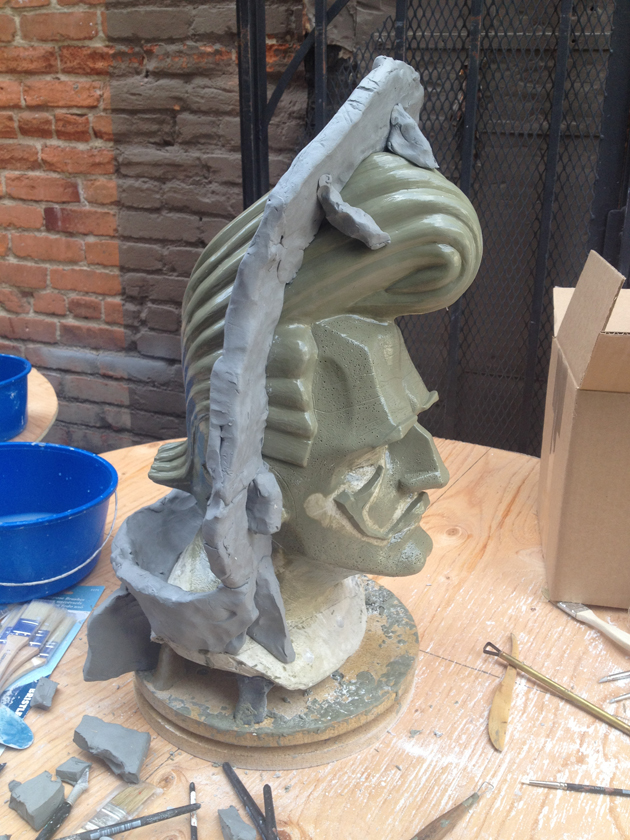
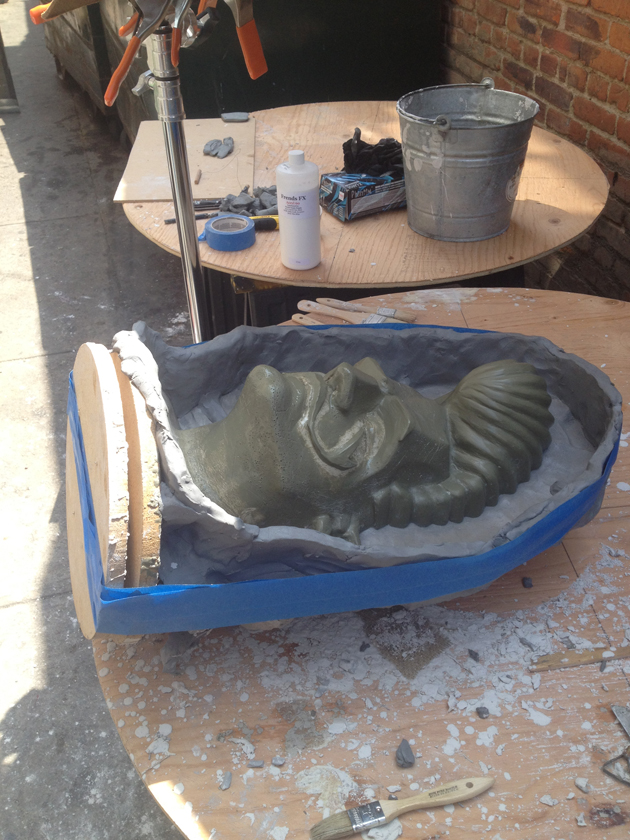
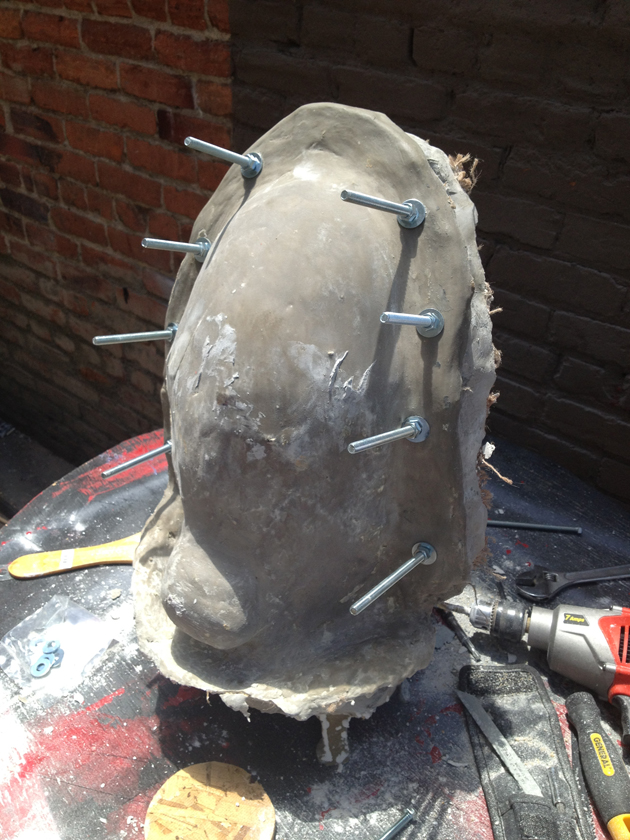
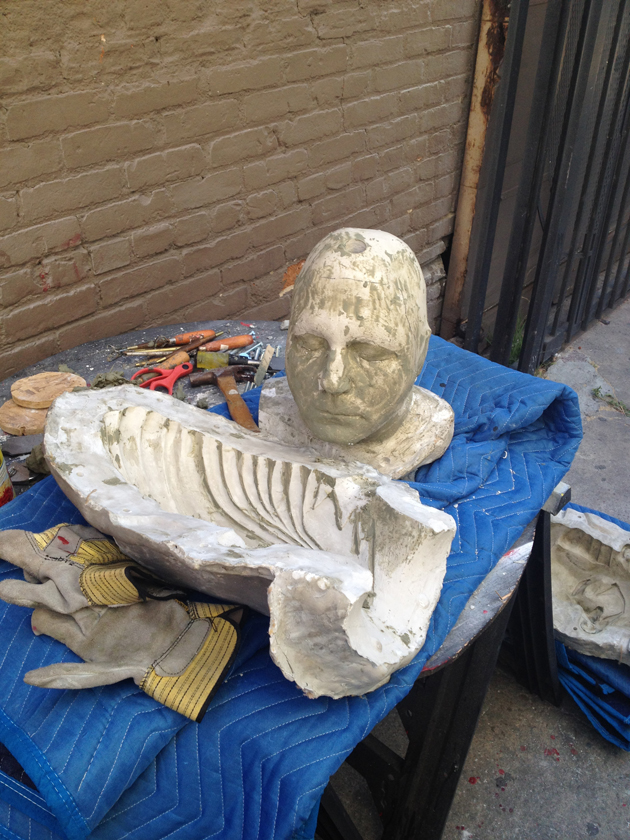
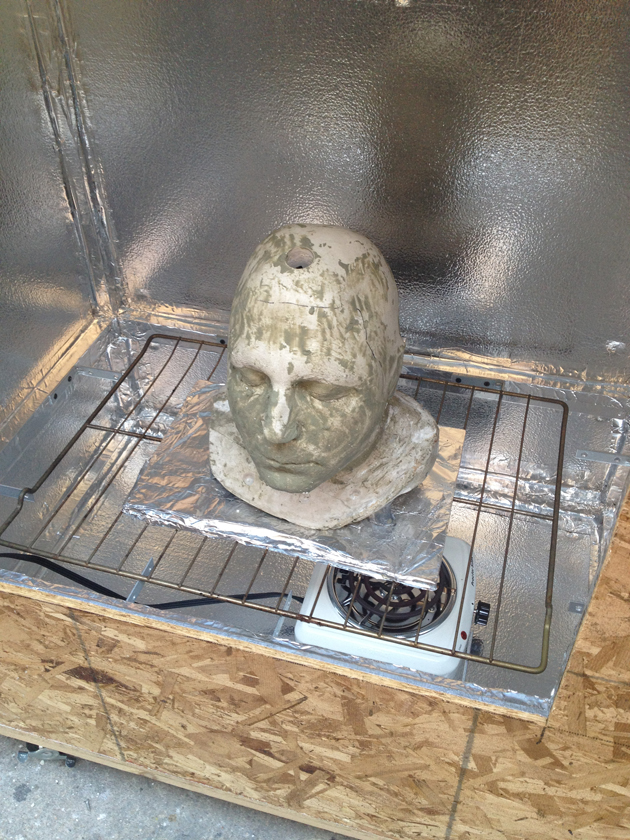
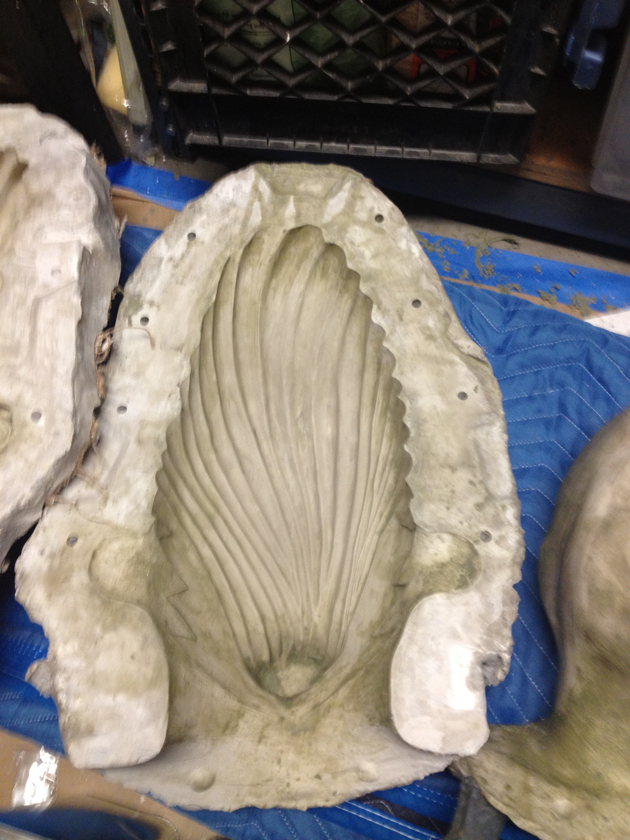
At this stage I drilled some holes for some nice and long registration bolts and nuts. I later reduced the length on some of these guys…overkill. After all the bolts were set,I cooked the mold in the oven for a bit to warm and loosen the clay inside. I then pulled the mold apart destroying the original sculpt, and began to clean, and clean, and clean the clay bits away.
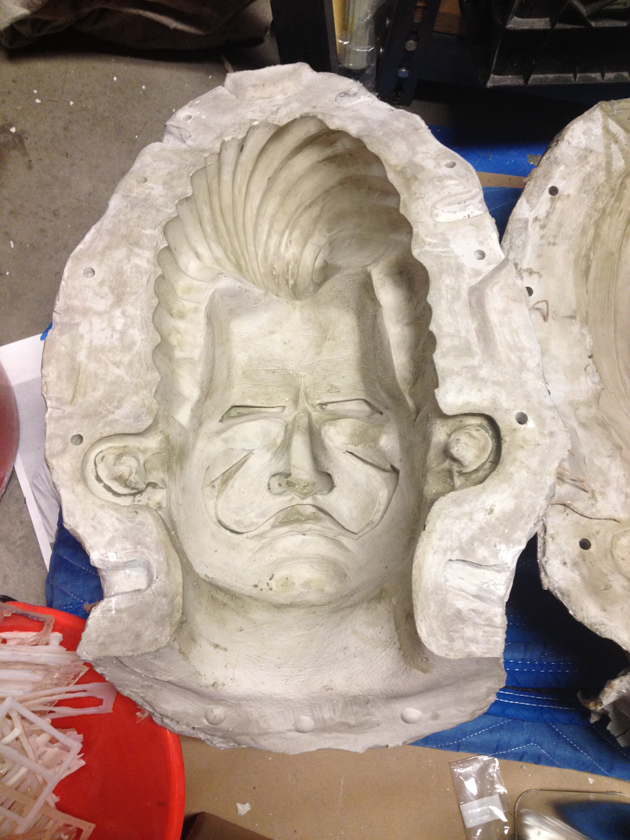
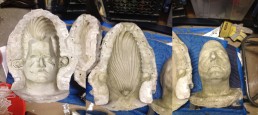
And here you have it! Relatively clean three part mold ready to fill with warm foam latex loving!
You can follow along through the whole process with the photo gallery below: