I continue to document the making of my short live action/animated film that for now is called “Cesar Head”. Some people dig this kind of stuff, so I’ll do my best not to bore you if you aint one of ’em.
Here in Part 2 I will cover the sculpting process that takes place over the gypsum positive of Cesar’s head. If you want to skip to the mold making in Part 3 click here. Click here to go back to the life casting in part 1
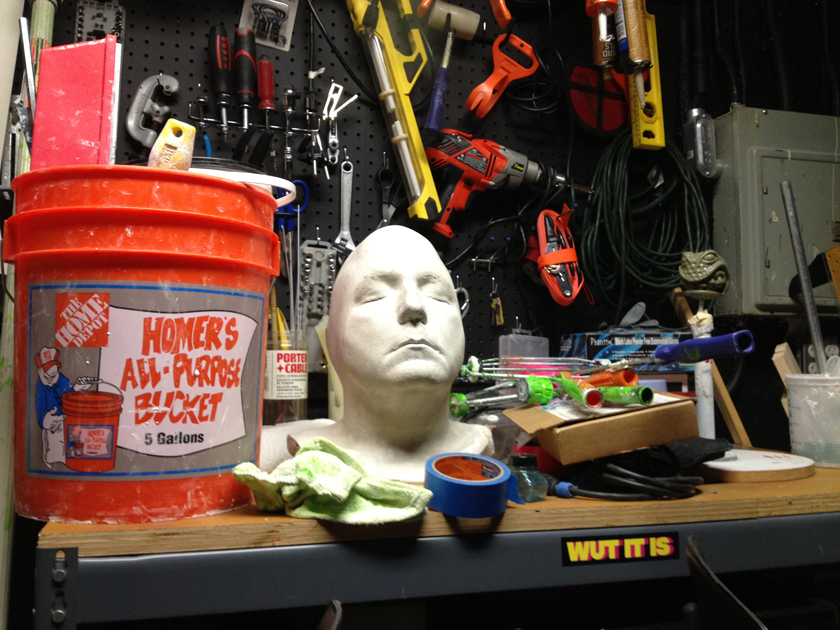
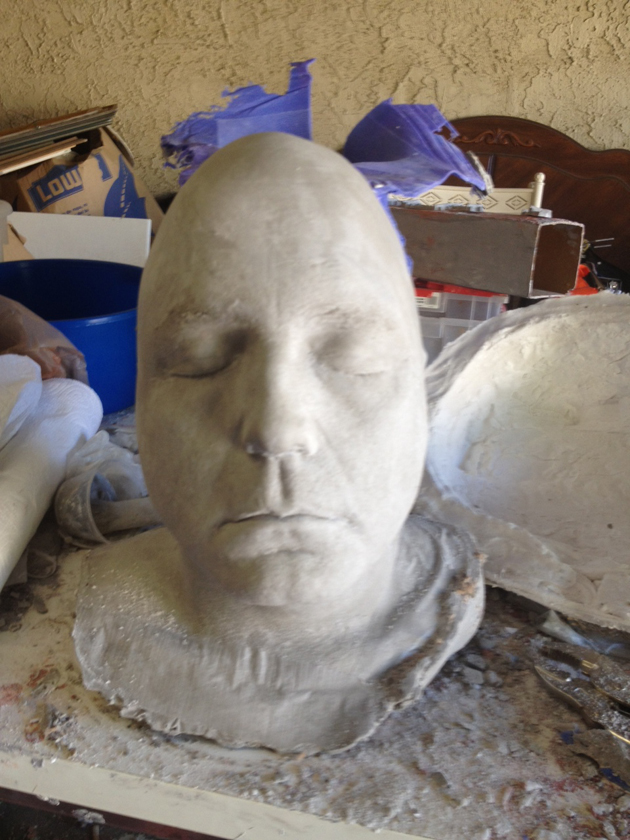
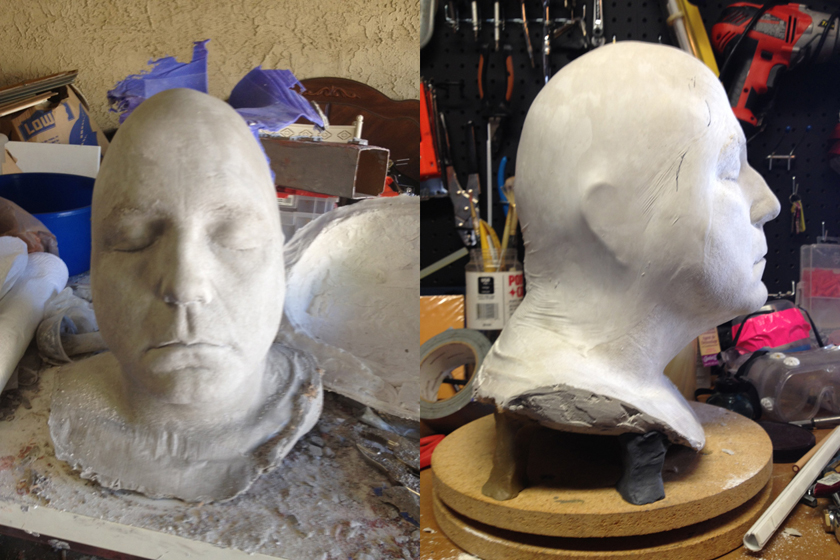
We put the mold parts all back together after removing them from Cesar and then created a positive of Cesar’s head from a combination on Ultrcal 30 gypsum cement and burlap strips, for added strength. I then mounted the positive with epoxy putty on a rotating platform I made from two discs of MDF and a “Lazy Susan” ball bearing joint.
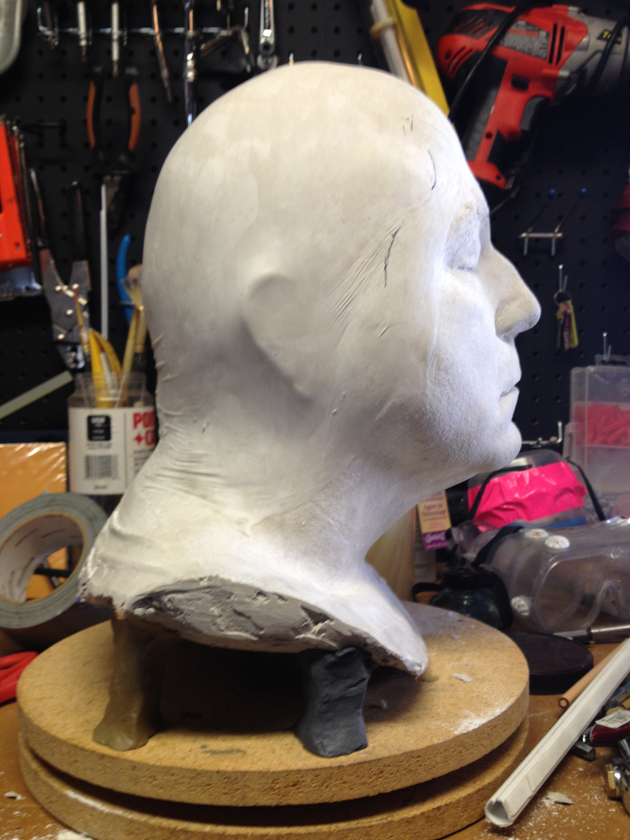
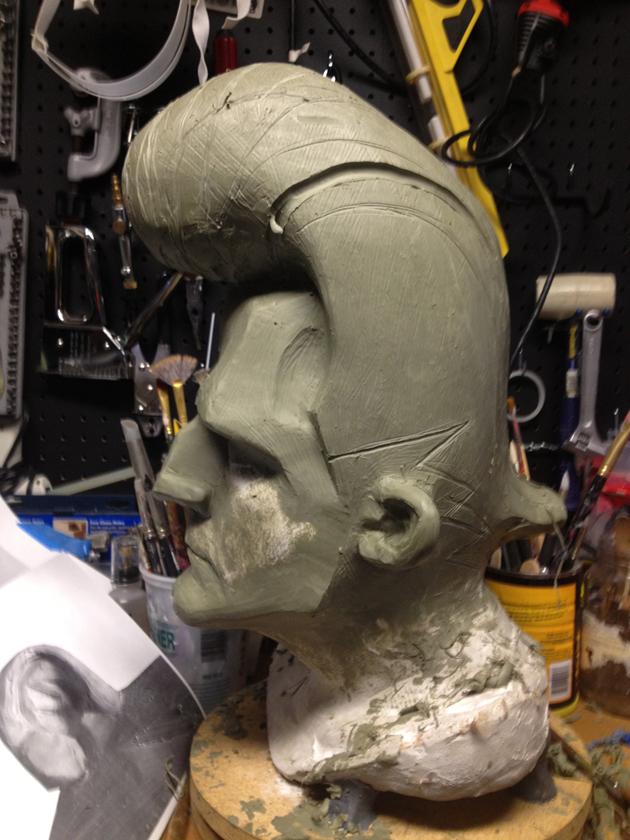
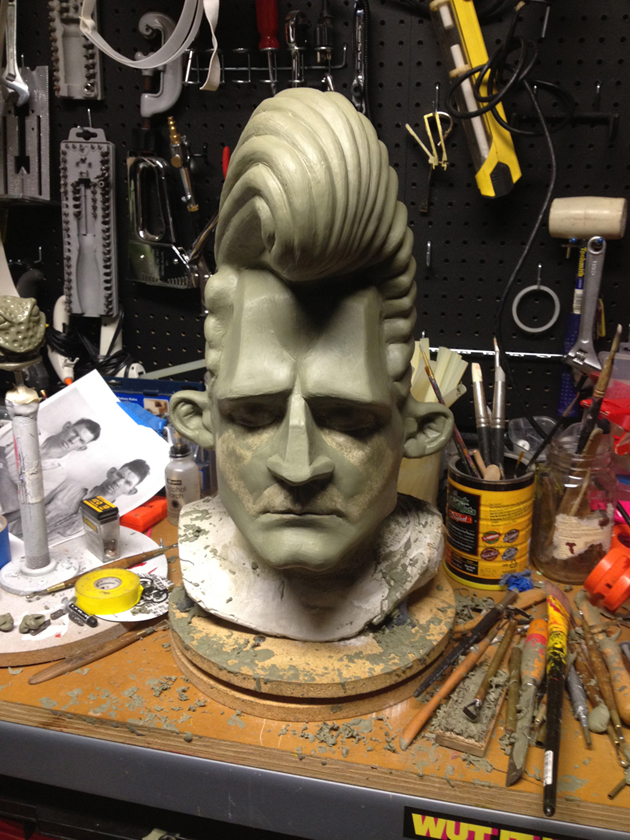
I then began to sculpt the areas that would be the foam latex prosthetic. I used a Chavant “non sulfur plasticine” clay in medium density…I could have used a hard density because of the unnatural angular planes I was going for, but the medium worked just fine. I had a rough idea of what I wanted before i even started, but you can still see me adjust a bit as I go along.
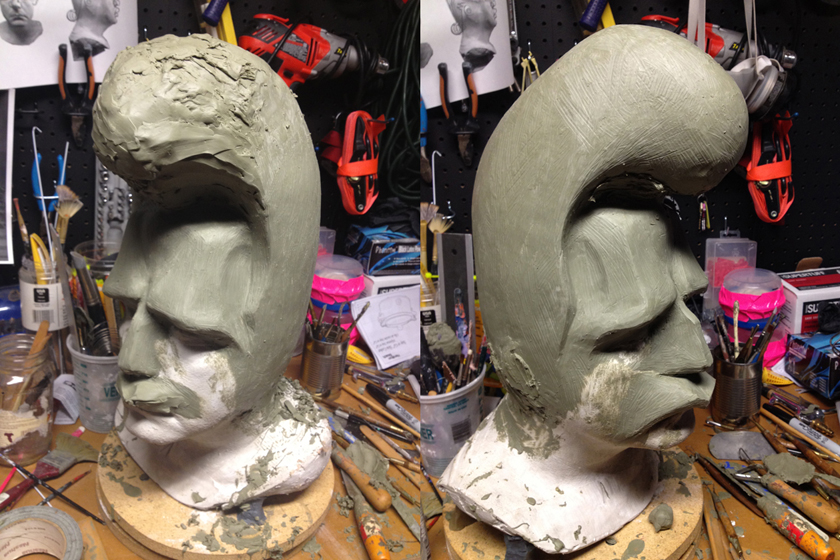
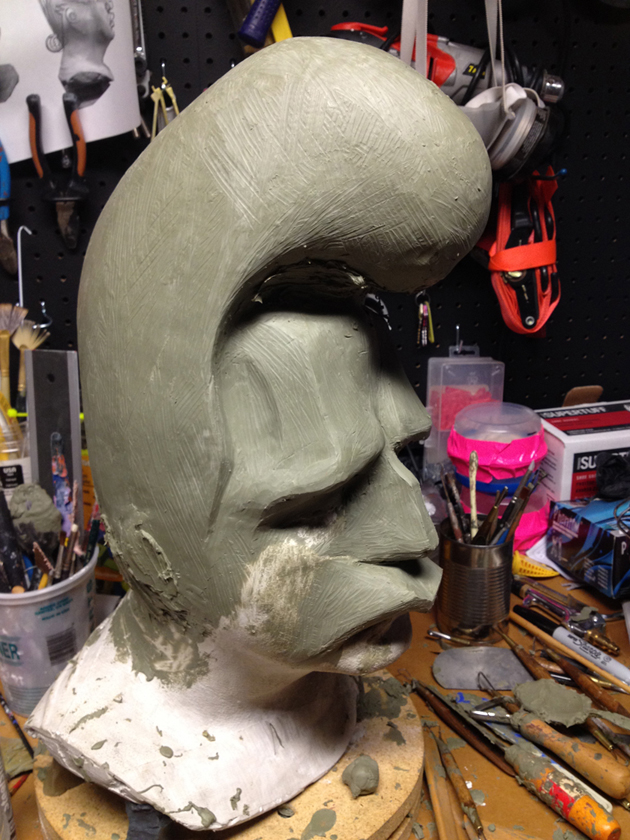
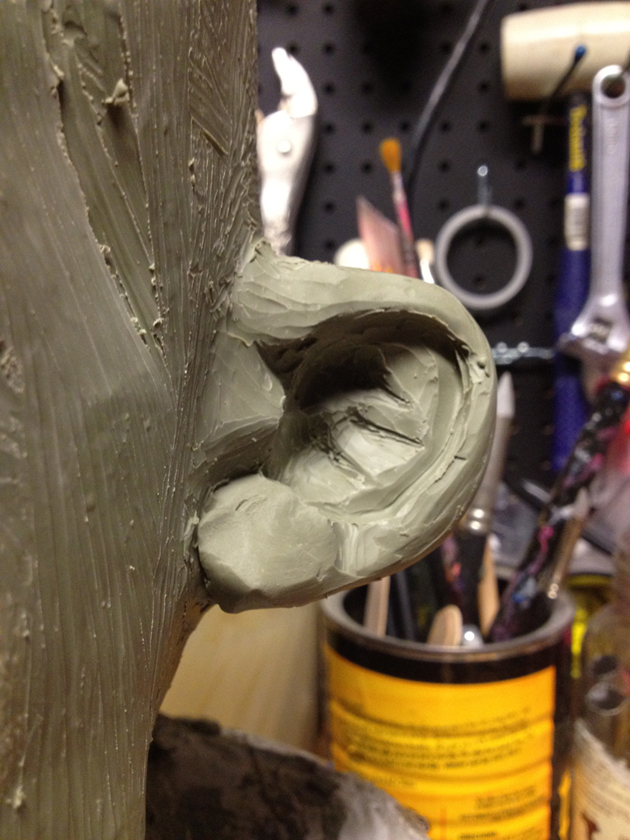
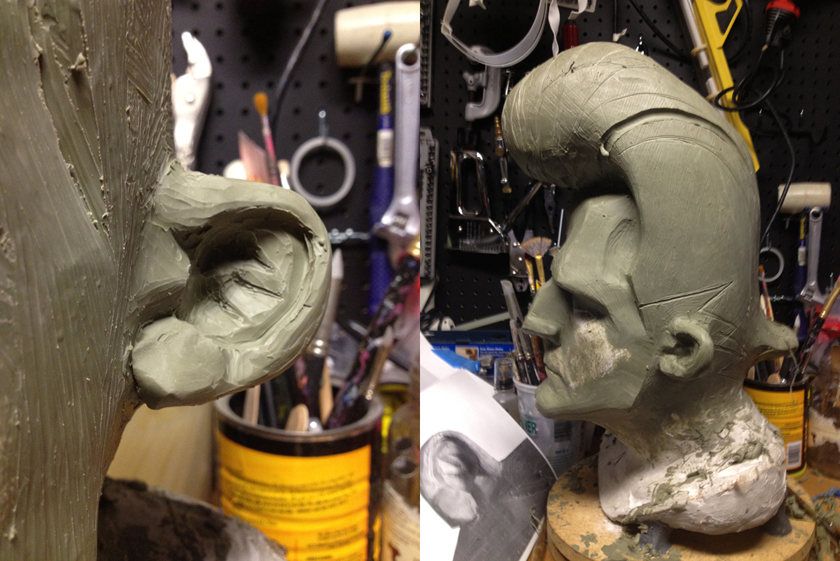
Here I begin to zero in on the main shapes, I lose the weird upper lip ( a practical decision based on the actors ability to perform ), and begin to add details like the ears, hairdo, nose and chin.
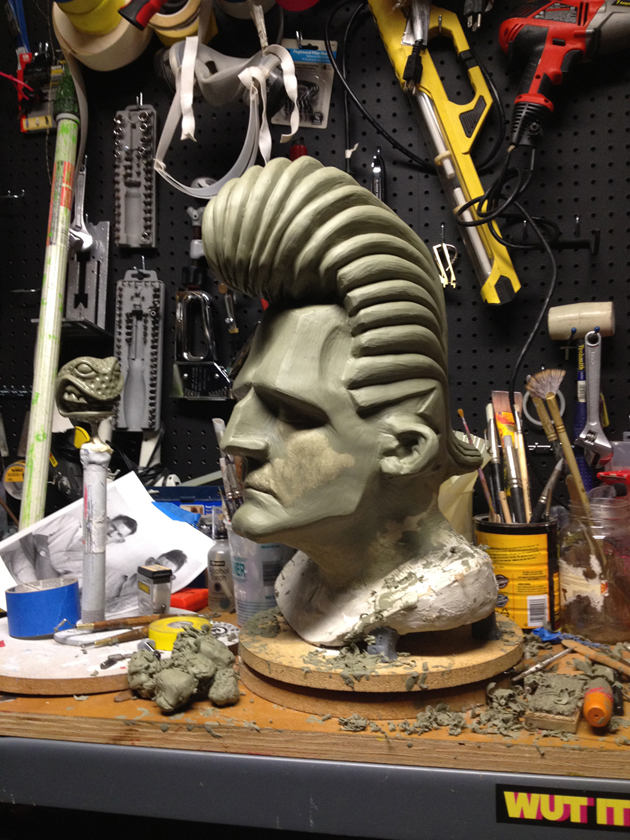
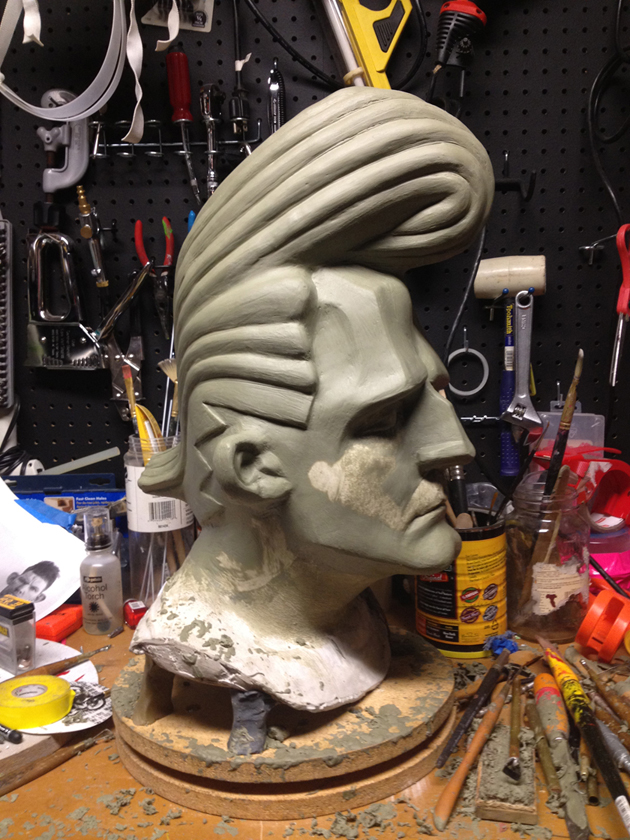
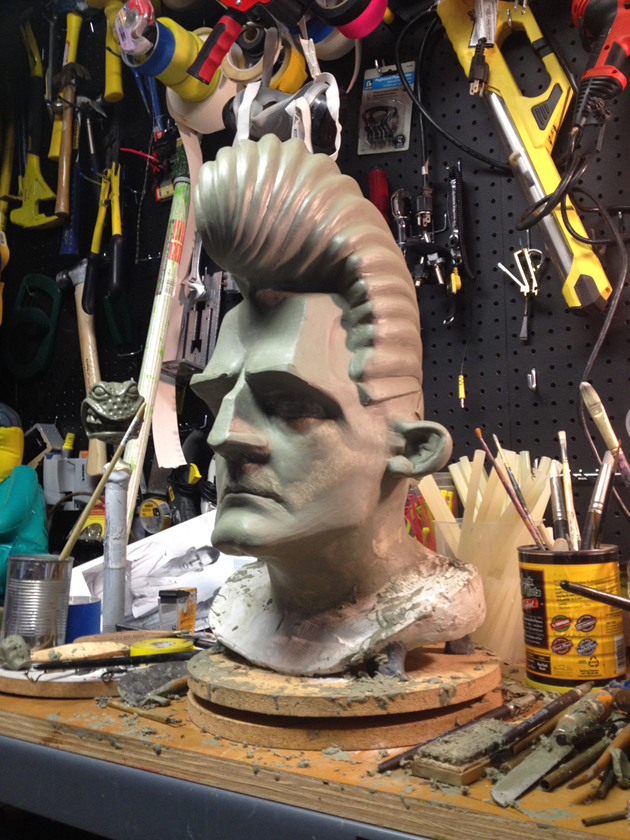
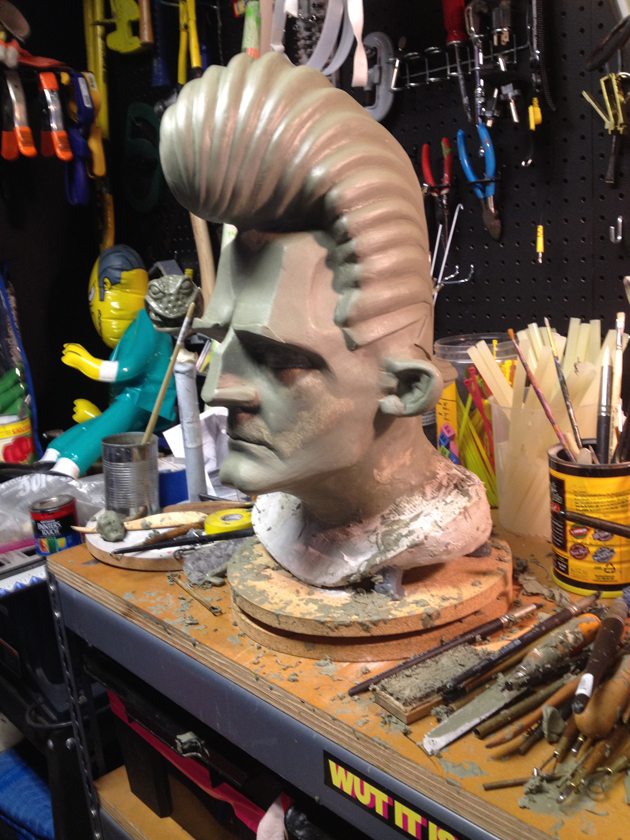
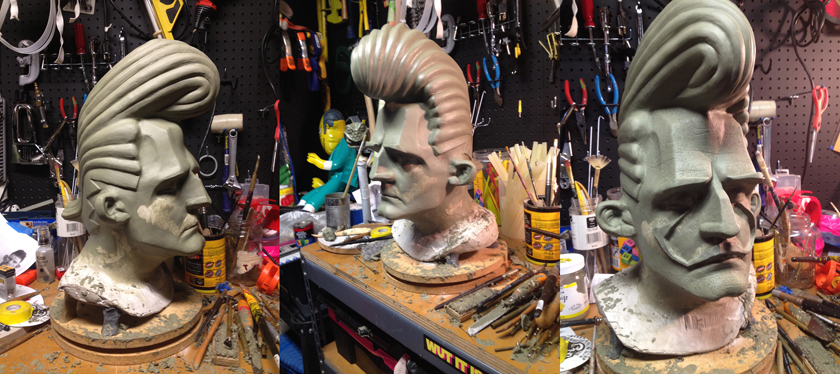
Now I have finalized the overall look and details like the exaggerated hair strands, eyebrows, duck-tail, hairdo shave, wrinkles and skin pores. The “mustache” looking thing in the last image is just a “key” for extra foam to escape to during the foam mold process, and will be discarded before the application to the actors face.
You can follow along through the whole sculpting process with the photo gallery below: