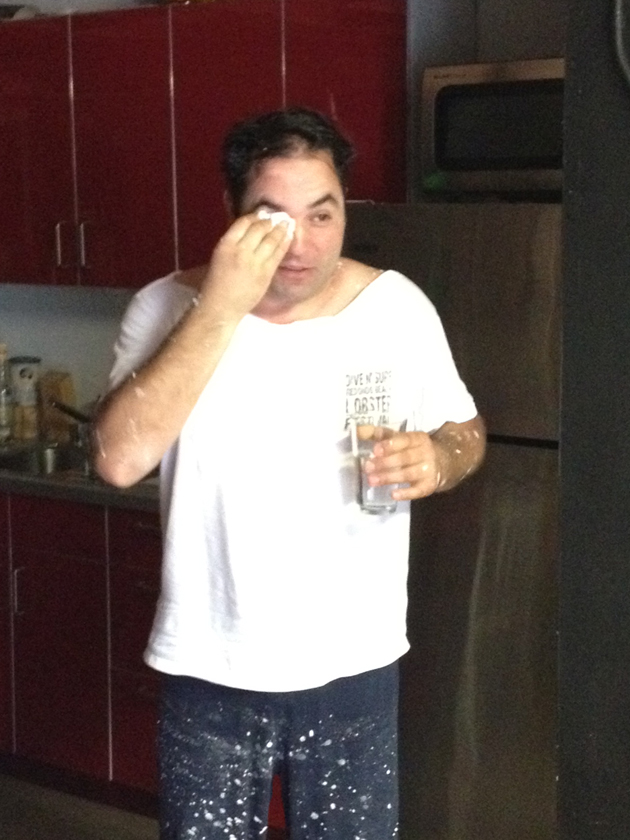
I will be documenting on here the making of my short live action/animated film that for now will be called “Cesar Head”. I’m calling it “Cesar Head” because a lot of the film depends on my friend Cesar lending me his head to do weird stuff to it.
Here in Part 1 I will cover the head mold process. If you want to skip to the modelling in Part 2 click here or the 3 part mold process in Part 3 click here.
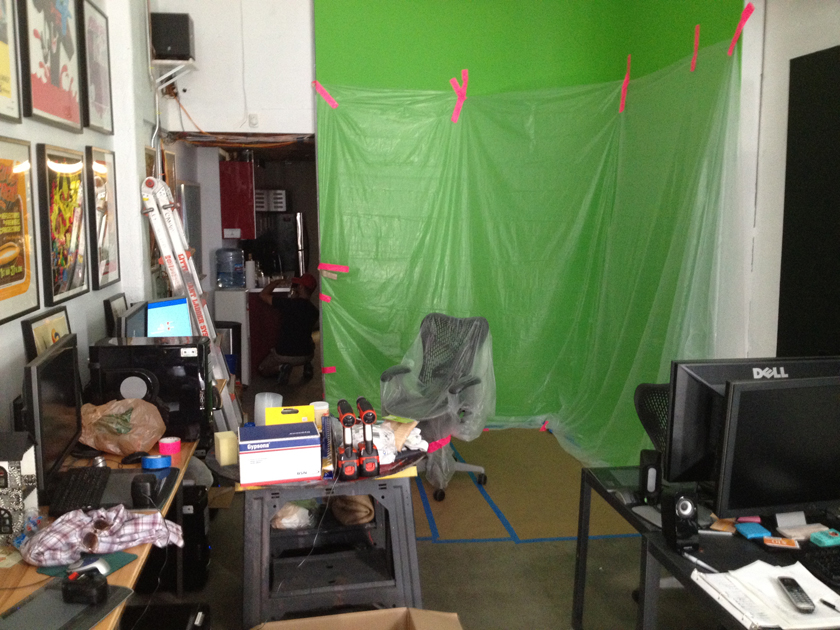
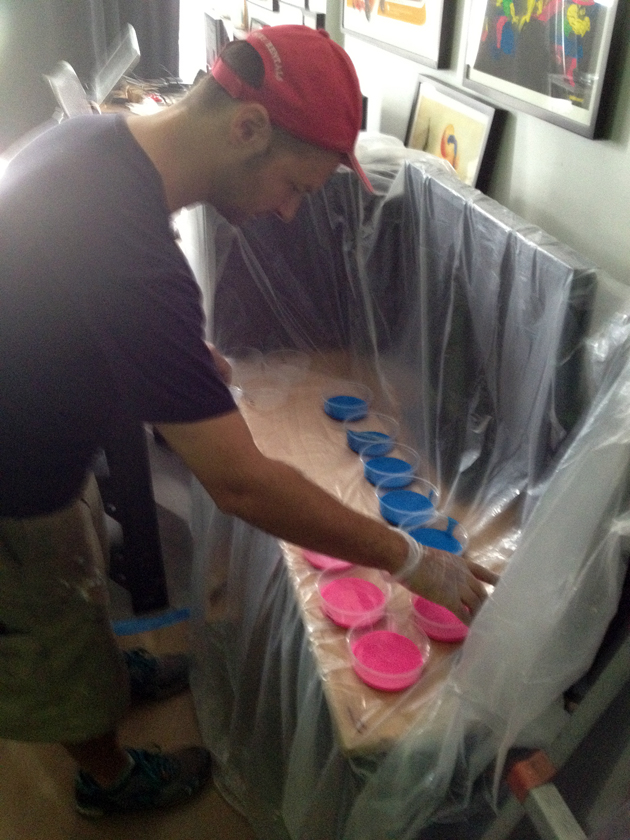
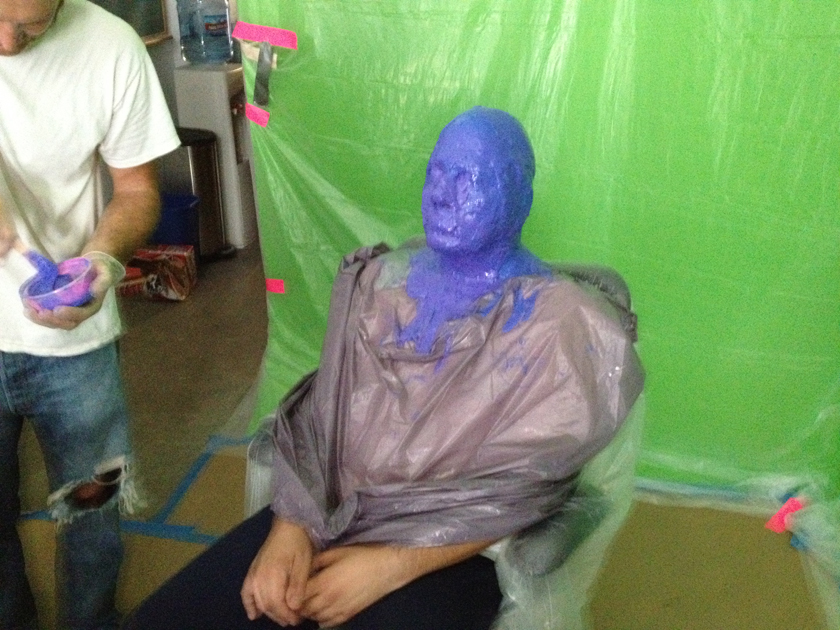
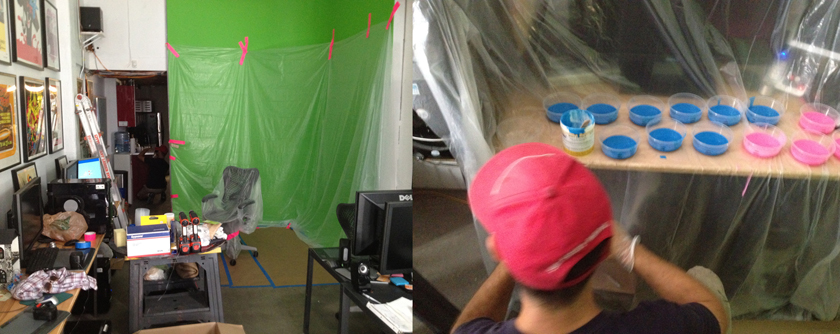
First we prepped the studio for the mess that would result. We then organized a whole bunch of equal containers with small amounts of Platinum Cure Silicone Rubber in “A/B” parts. The idea here is allow smaller batches to cure in layers as we mixed and applied the batches one by one to Cesar’s head. In the following pictures you can 1mil plastic hanging from all the surfaces like a mob hit is about to go down. Also you can see my buddy Yarrow prepping the silicone into A/B containers.
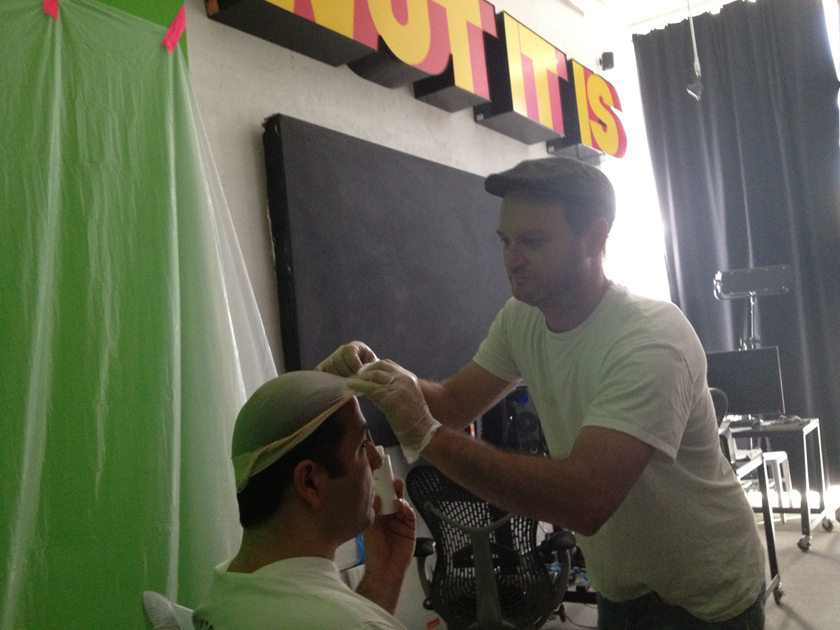
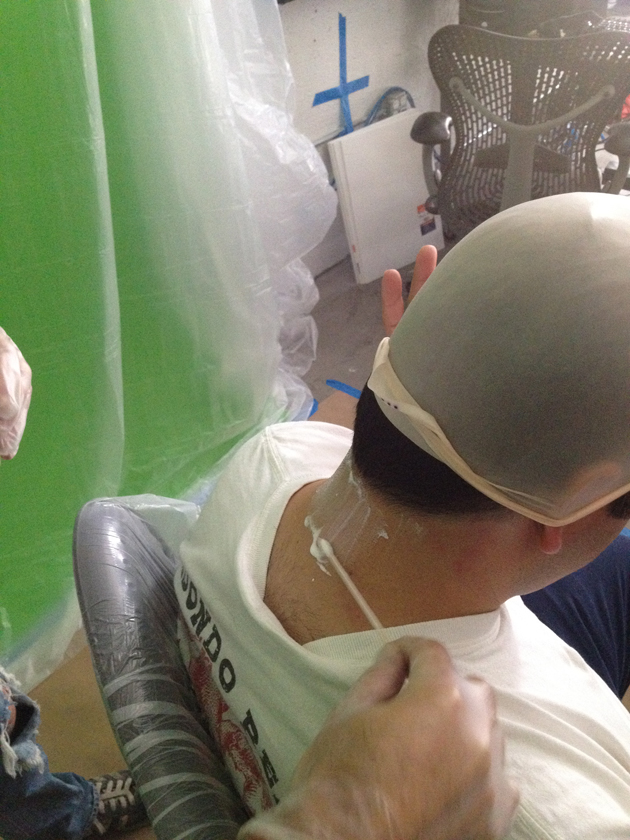
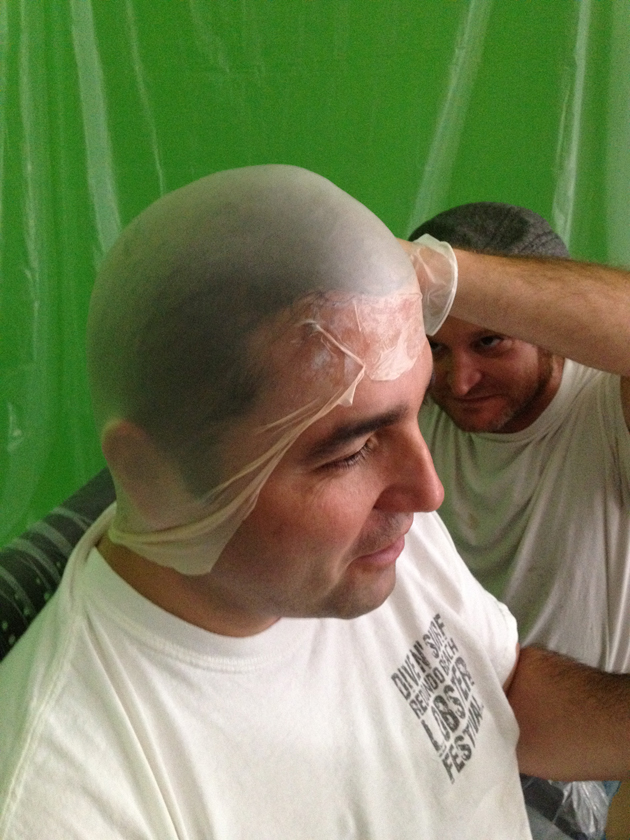
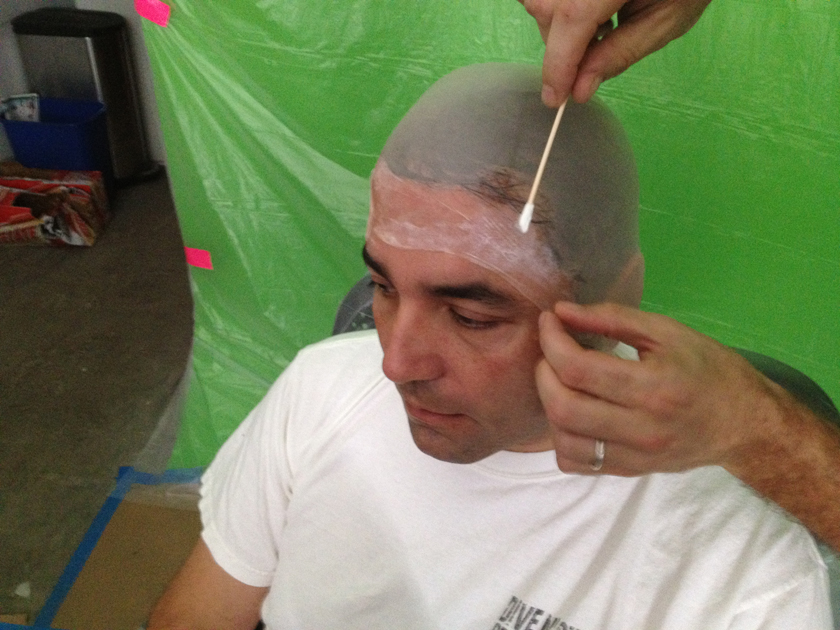
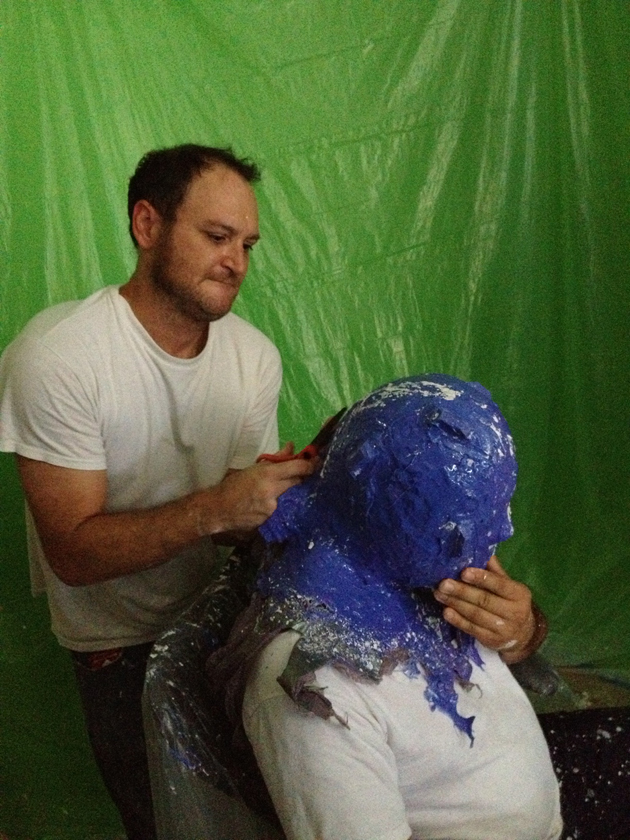
My old RISD Film/Animation/Video buddy Ben Dulong can be seen here applying the bald cap to Cesars dome piece with Pros-Aide adhesive.
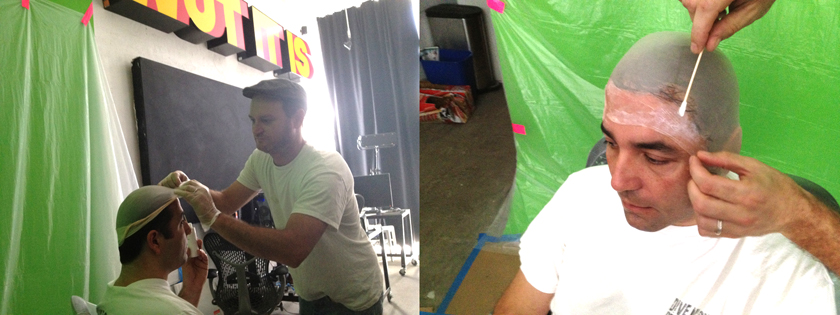
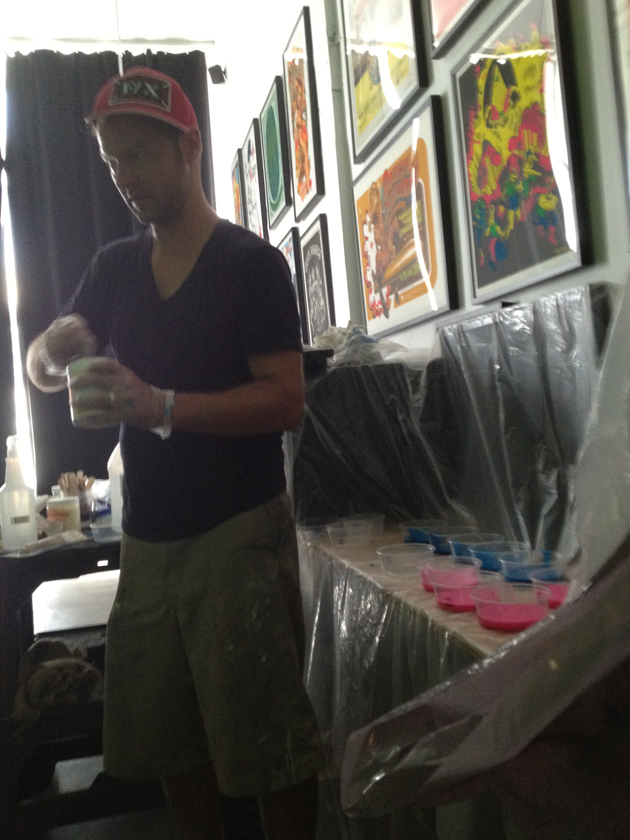
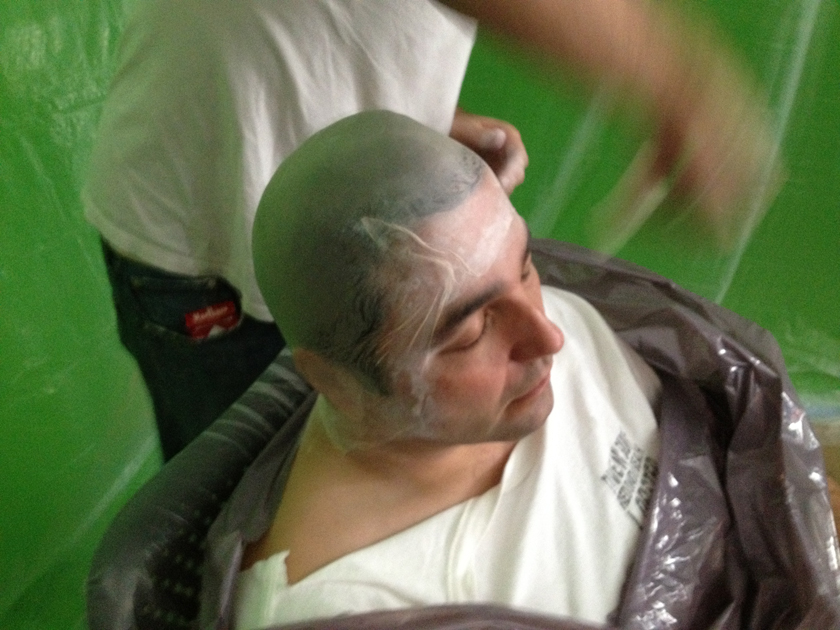
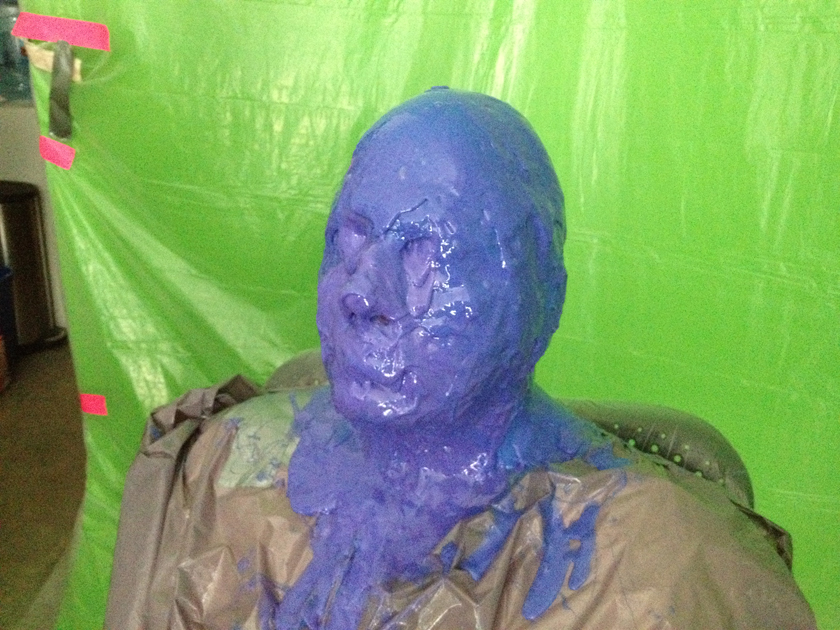
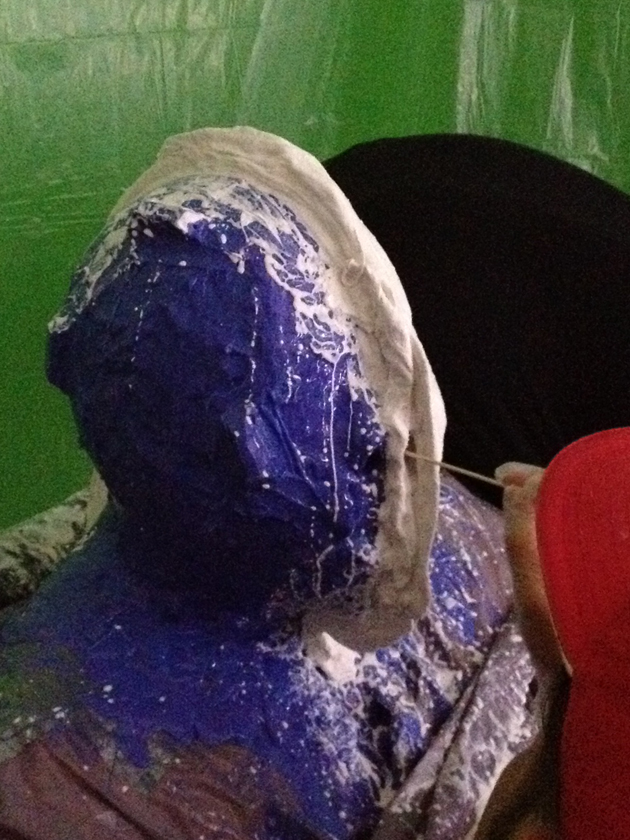
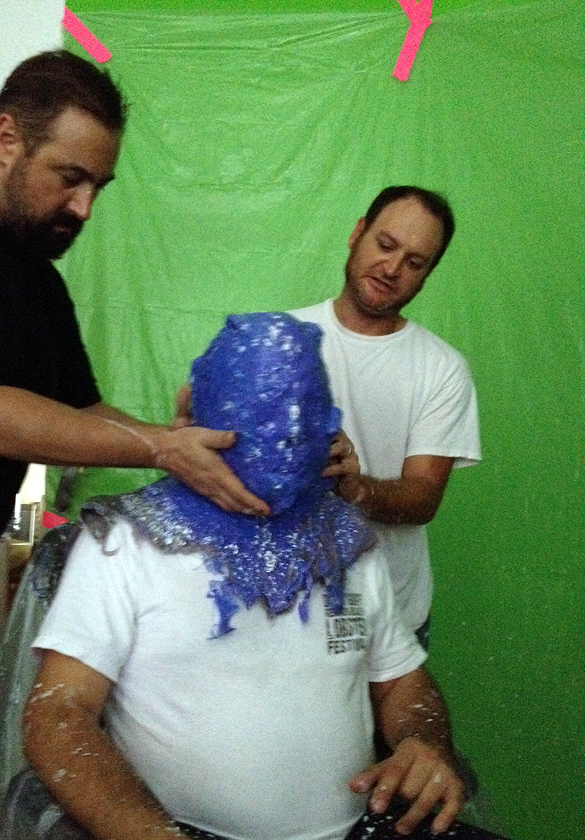
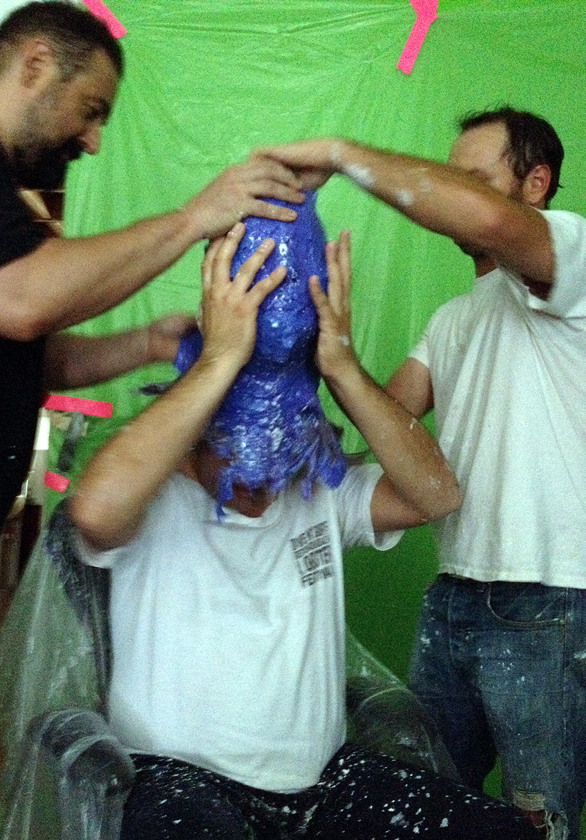
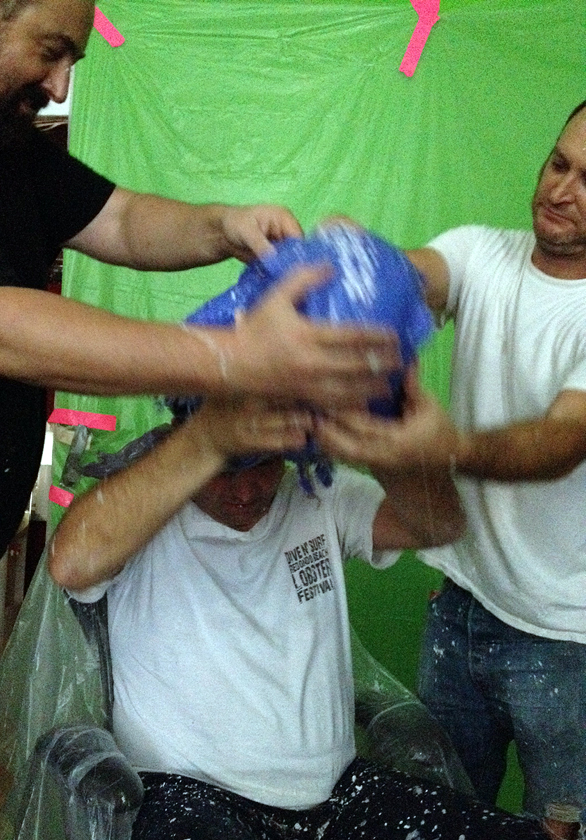
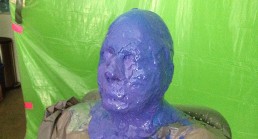
Yarrow continues to divide the silicone into smaller more manageable A/B containers, then rapidly hands them off to Ben and I so we can quickly, but thoroughly, mix them and slather up Cesar’s head. We were on constant watch to keep Cesar’s nostrils clear for breathing, although they did seem to naturally keep themselves clear for the most part.
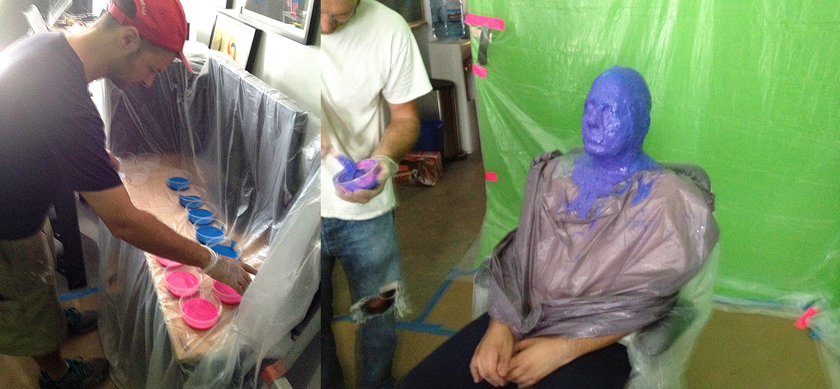
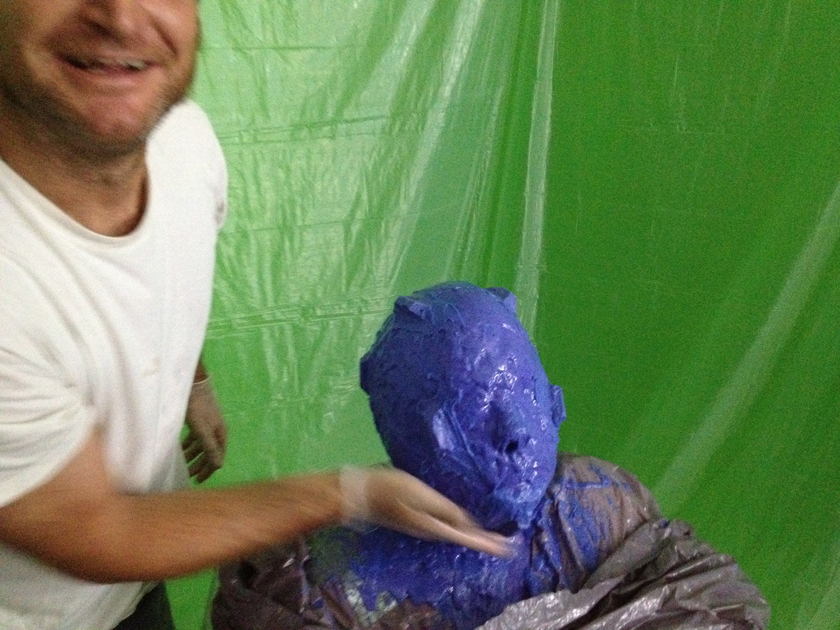
After getting a nice strong amount of silicone layers onto Cesar, we added some ice cube shaped “keys” along his newly rubberized head. These “keys” will give the plaster bandages clear shapes to lock onto, prevent slipping and create accurate realignment for when the mold is put back together after being taken apart.

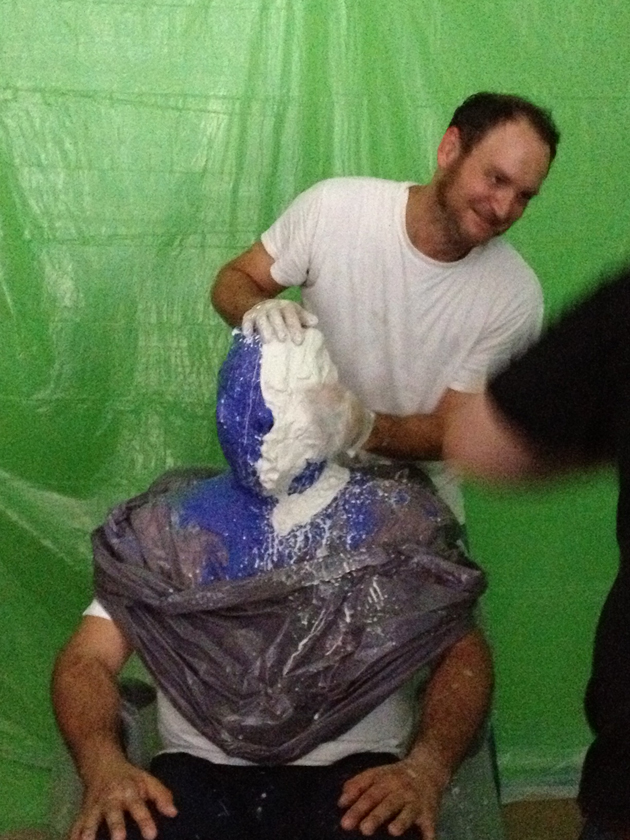
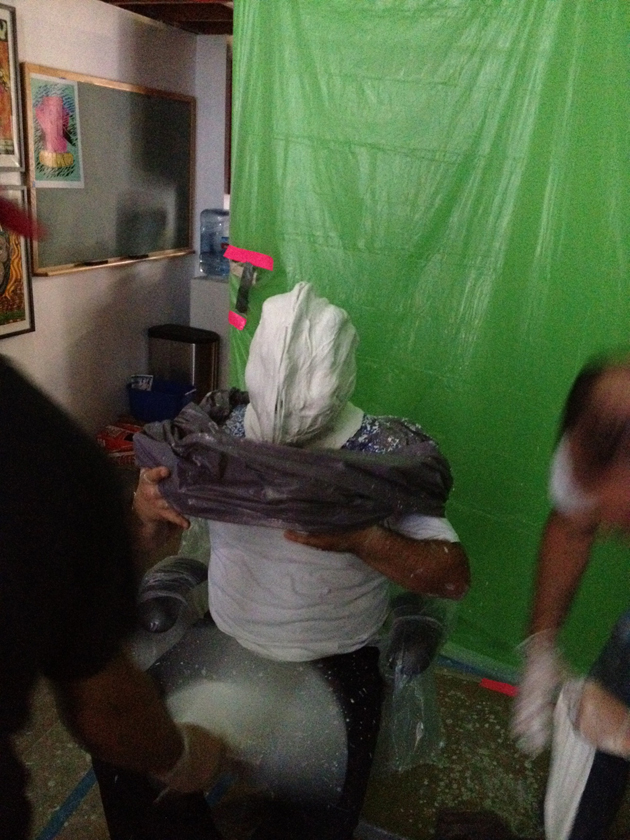
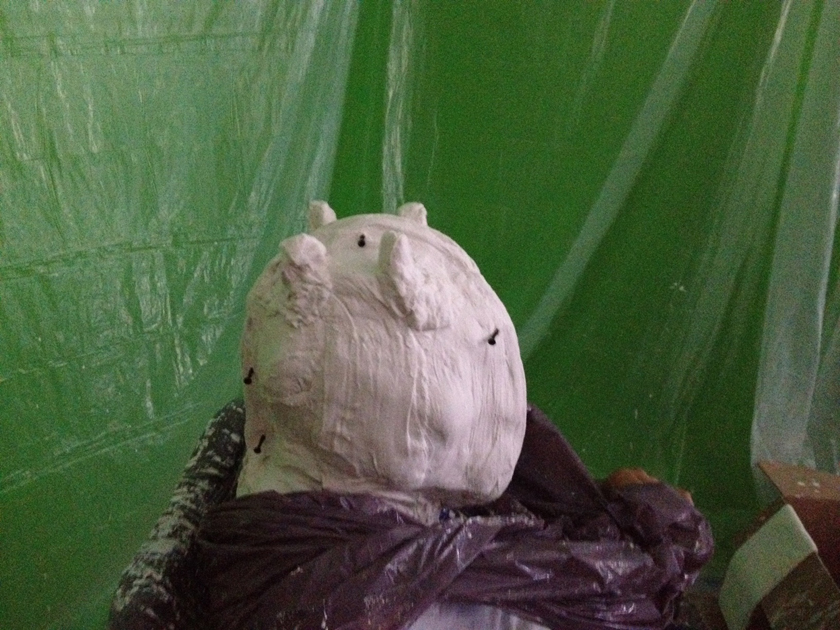
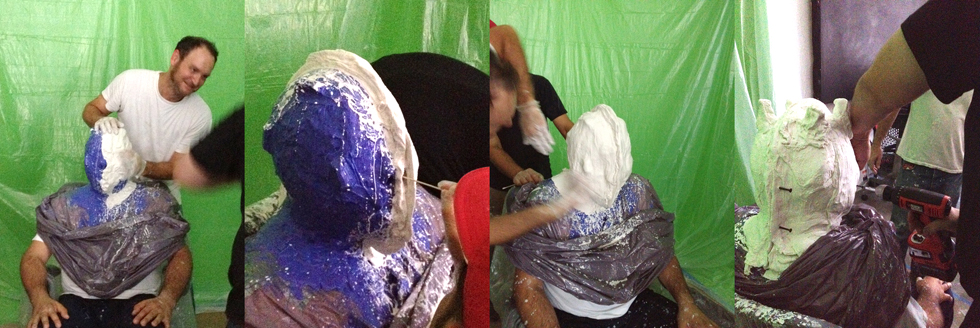
At this stage Ben and I begin to make two clear halves of the plaster outer shell for the silicone mold. The first half goes on nice and thick and is allowed to dry a bit before we continue with the second half. Good old fashioned Vaseline is used along the molds seam to prevent the plaster halves from bonding to one another and locking Cesar in. Once the whole thing dries a bit, I screw in 3″ drywall screws along the seams extruded edge for re-registration after removal.
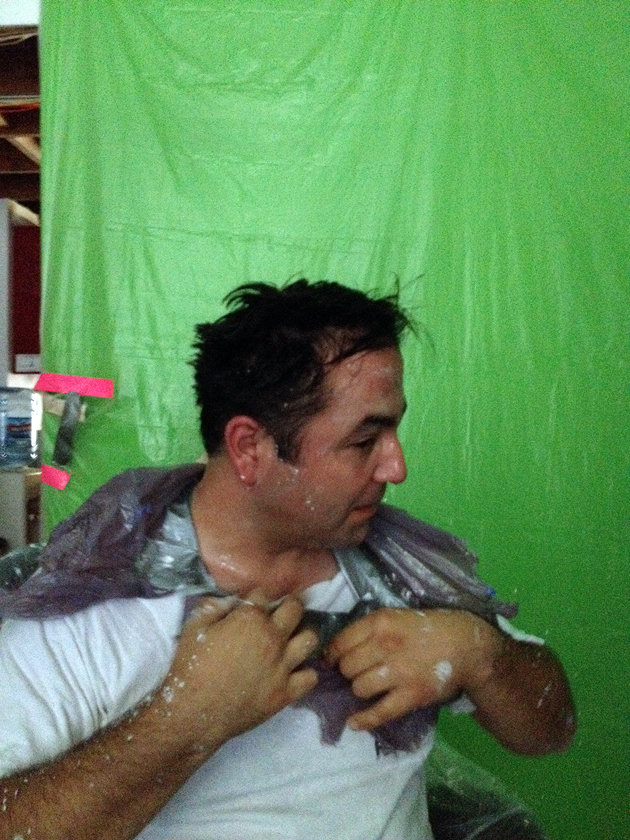
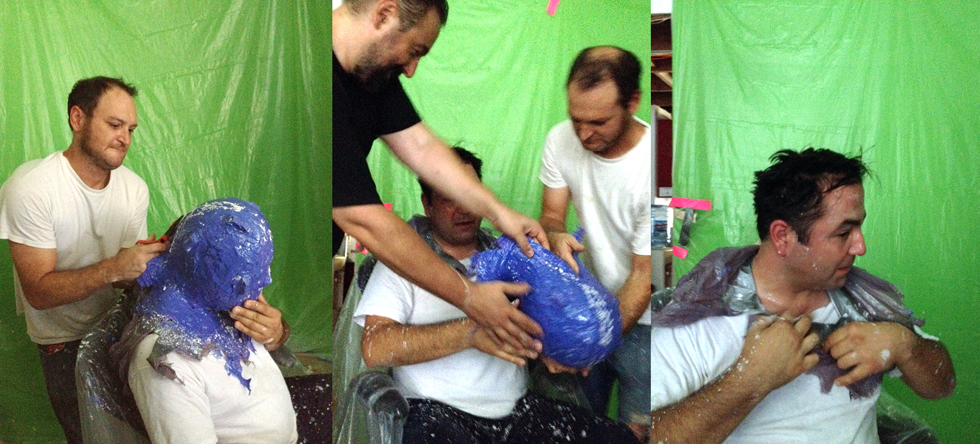
We remove the two almost completely dried plaster shells pieces, cut up along the back of the silicone mold, and free Cesar from his rubber shell! People find the process incredibly relaxing and even fall asleep during the process.
You can follow along through the whole process with the photo gallery below: